How to Edit Photos and Videos on the Web Dashboard
- Log into your account and switch into the Multi-Channel Workspace or Instagram Planner
- You can upload a new post or edit existing media
- To edit an image or video, click the image/video uploaded and click on the edit icon.
Multi-channel Workspace:
Instagram Planner Workspace:
- You can start editing your content with all of the editing options on the left panel, including Resize


- If you are editing a video, you will see similar options to edit, but they are specific to video editing. Including the ability to trim, crop,speed,etc.

- To save your changes and edited image/video, in the top right corner, click on Save Edits

- Once you are done editing, go ahead and click on Save to save all of your changes

- You will then see your newly edited content in your post
- Make sure to add all of your post details such as caption, hashtags, etc. From there, you can either Save Draft or click on Schedule to schedule your post
Please Note: Once you have saved an edit, you cannot undo it.
How to Edit Photos and Videos on the Mobile App
- Log into your Planoly account in the Mobile App and navigate to the Multi-channel Workspace or Instagram planner
- You can upload new media or open an existing post from your grid
- Tap on the photo editor icon to load editing tools
Multi-channel Workspace:
Instagram Planner: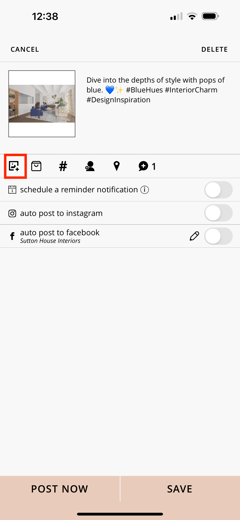
- In the Multi-channel Workspace after clicking the edit icon, you will be able to tag products and users, or at the top right, you can select Edit to transform the media. For the Instagram Planner after clicking the edit icon you will move directly to the edit options
- After editing the media for photos or videos, you will select Done and Save. You will also be prompted on the Multi-channel Workspace to confirm you want to make the changes

- Once you are finished transforming your media, you can add your captions, hashtags, etc to finish creating and scheduling your post.
If you are unsure about your auto-posting requirements, please use these guides below for help:
For more information about our editing feature and how to use it, please check out this Help Guide to learn more.