How to Use Hashtag Manager
Manage all of your hashtags into groups or themes for easy access in your workspace.
What is Hashtag Manager?
Hashtag Manager is a feature for paid plans and free trials that:
- Allows you to create and store groups of hashtags, mentions, text, and emojis within Planoly's multi-channel posting tool
- Allows you to add Hashtag Groups to posts within Planoly’s multi-channel posting tool
- Allows you to see Hashtag Groups created in your Instagram Planner within a specific Multi-Channel workspace
- You are able to add hashtags to any social platform on Planoly
Please Note:
When creating a Hashtag group, the description, title, hashtags, mentions, and text that gets copied into posts currently have a limit of:
- 30 Hashtags
- 255 Character
How do the Instagram Planner Hashtag Manager and Multi-Channel Hashtag Planners differ?
Instagram Planner hashtags are primarily meant for Instagram planning. You will be able to view these in a Multi-Channel Workspace, but not edit. In the Multi-Channel Workspace, the hashtag manager can be used to organize hashtags across all social channels. You won't see these in Instagram Planner.
Instagram Planner
You Can:
- Create, Edit, and View your Instagram Planner Hashtags in Instagram Planner
- View your IG Planner Hashtags and insert them into posts in your Multi-Channel Planner
You Cannot:
- Edit your IG Planner Hashtags in your Multi-Channel Planner
Multi-Channel Planner
You Can:
- Create, Edit, and View your Multi-Channel Planner Hashtags in your Multi-Channel Hashtag Manager
- View your IG Planner Hashtags and insert them into posts in your Multi-Channel Planner
- Edit your IG Planner Hashtags in your multi-channel planner, but you can easily switch to Instagram Planner to edit them there.
How to Create, Edit, and Delete Hashtag Groups on the Web Dashboard
Multi-Channel Workspace
- Log into your account on a computer and from the account switcher, switch into (or create a new workspace) a Multi-Channel Workspace
- Once inside a workspace, on the left panel, click on the Create Icon (the pencil icon), choose Hashtags, and click on Add Group

- From there, you can add a title, description, hashtags, and mentions all within this new hashtag group you are creating

- Once finished, click on Save and your new hashtag group has been created!
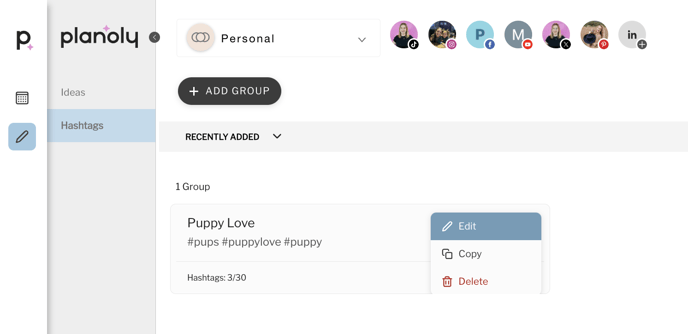
If copying your hashtag group, once you click on Copy, you will see a notification at the bottom of your screen saying Hashtags copied to clipboard, and from there, you can paste those anywhere you need to.
When adding hashtags and mentions to a hashtag group, you will see the counter at the bottom of the hashtag group letting you know how many of each you have left. If you are over the allotted limit, you will not be able to auto-post your content via Planoly.

Please Note: When creating hashtag groups within the Multi-Channel Workspace, these hashtags can be copied and pasted to either planner (Instagram Planner OR Multi-Channel Workspace planner). On the other hand, when creating hashtag groups for the Instagram Planner, these must be done inside of the Instagram Planner.
You will see icons for the Multi-Channel Workspace and Instagram (shown below) to identify where the hashtags were created. You can learn more about how to create hashtags in the Instagram Planner below.

Instagram Planner
- Log into your account on a computer and head to the Planoly Instagram Planner Dashboard
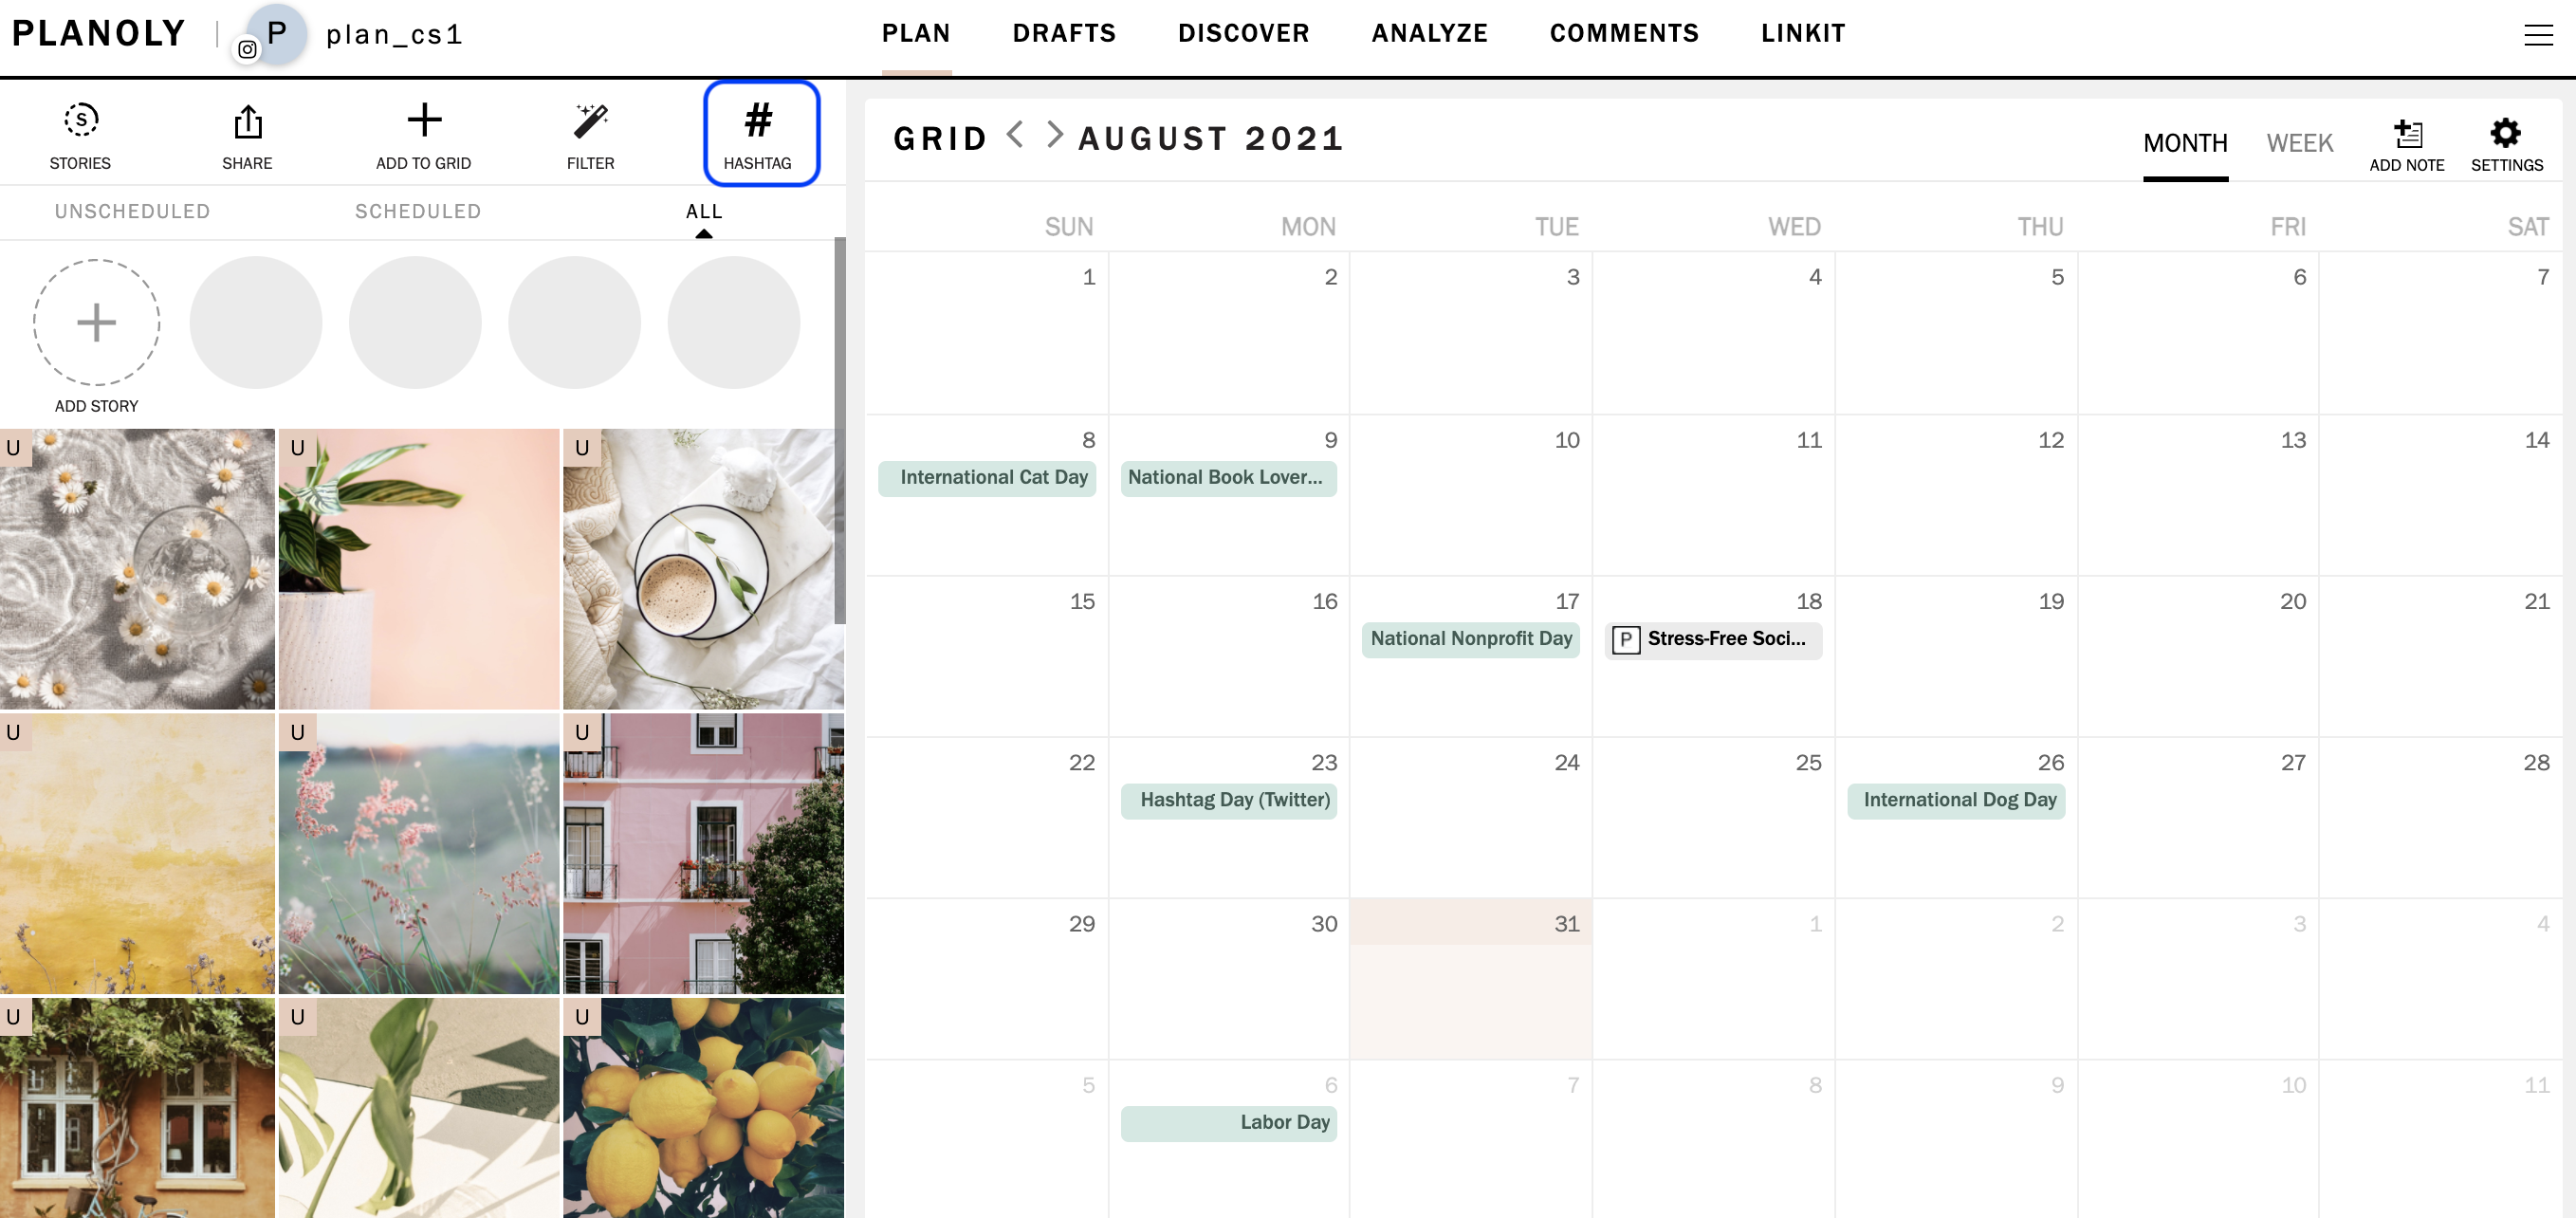
- Click on the Hashtag icon
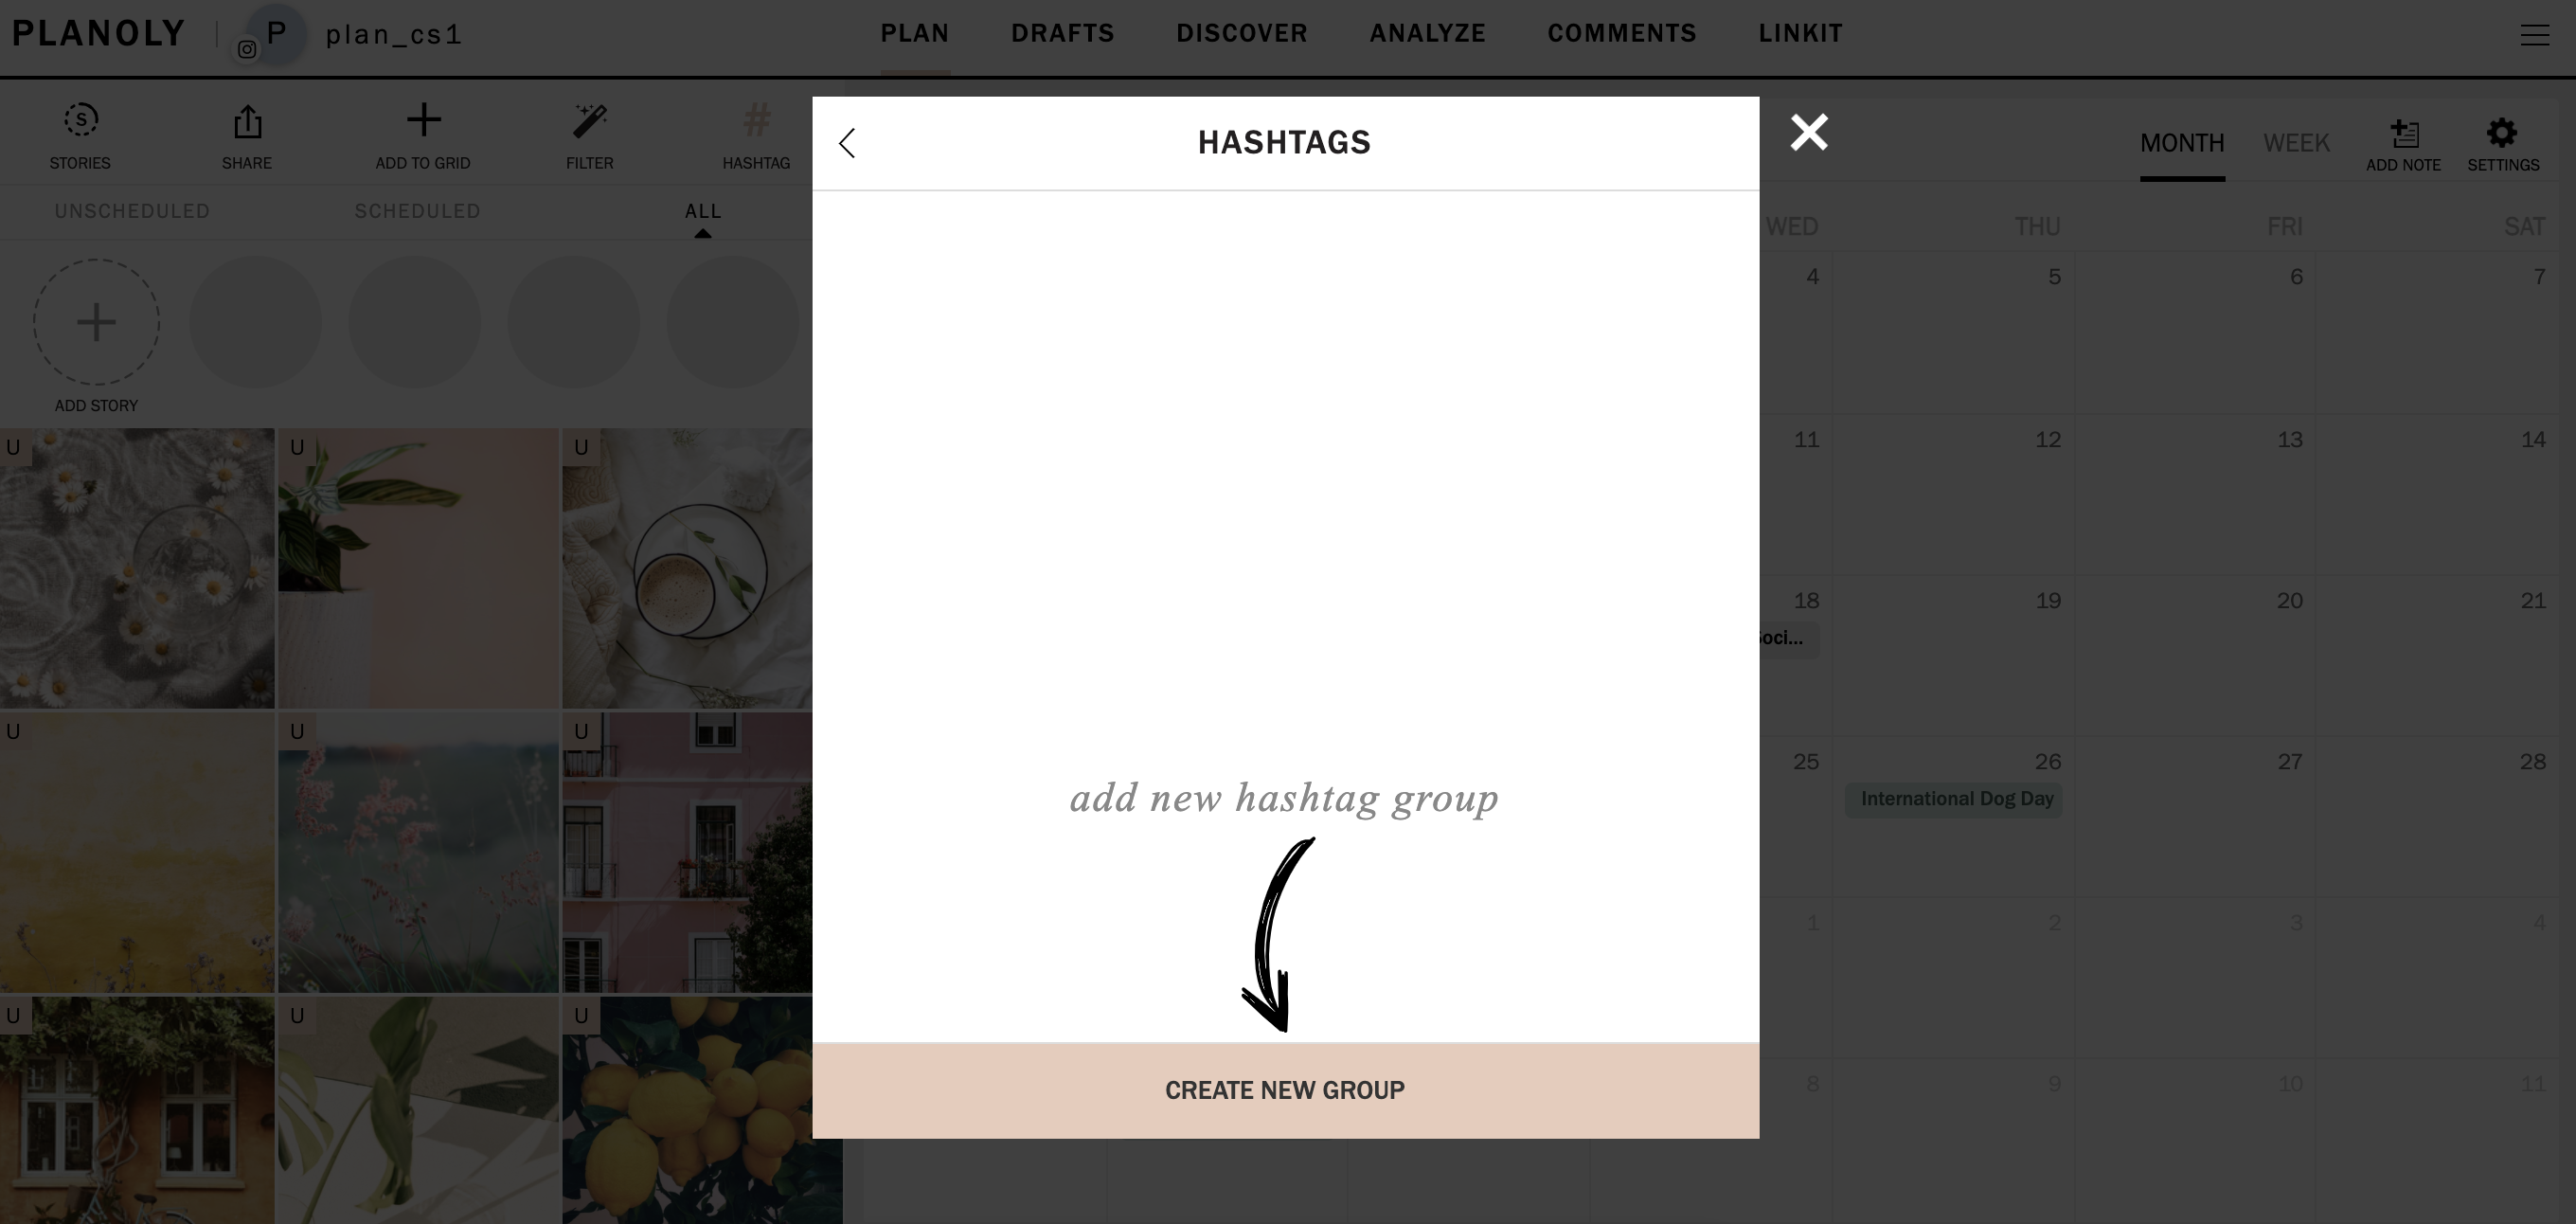
- If no Hashtag Groups exist, click on Create New Group
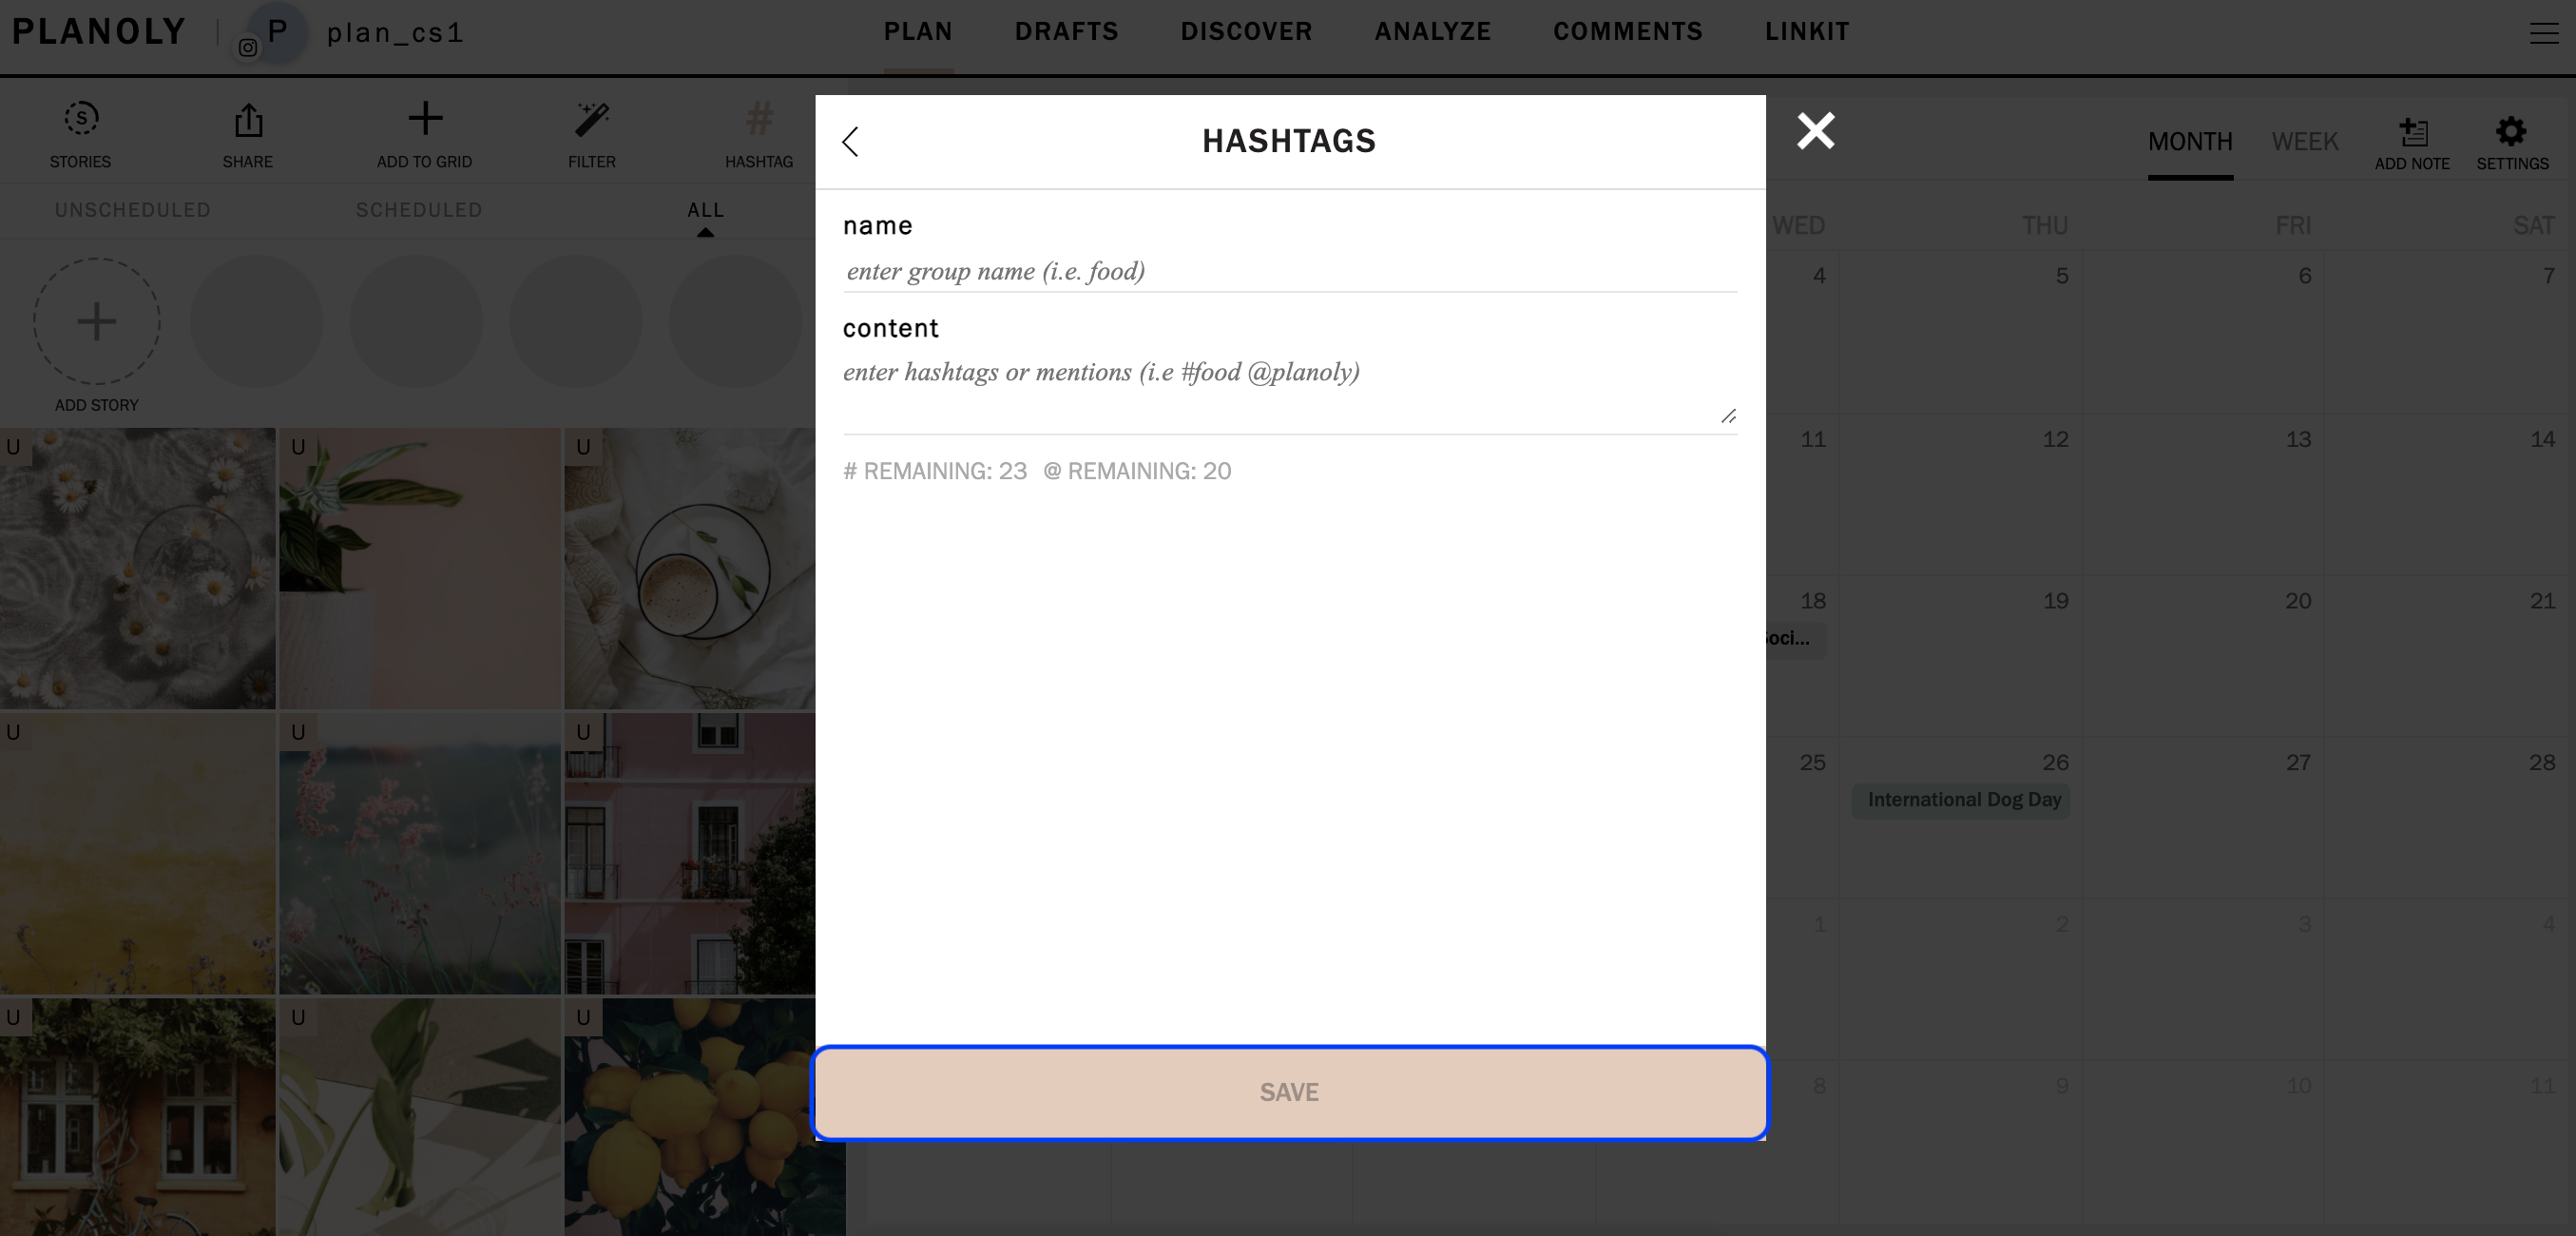
- Add the Hashtag Group name and content and click Save
- Click Edit to change the Hashtag Group Content
- To delete a Hashtag Group, click on Edit and the option to Delete will appear
- Click Copy to save the Hashtag Group Content to your clipboard
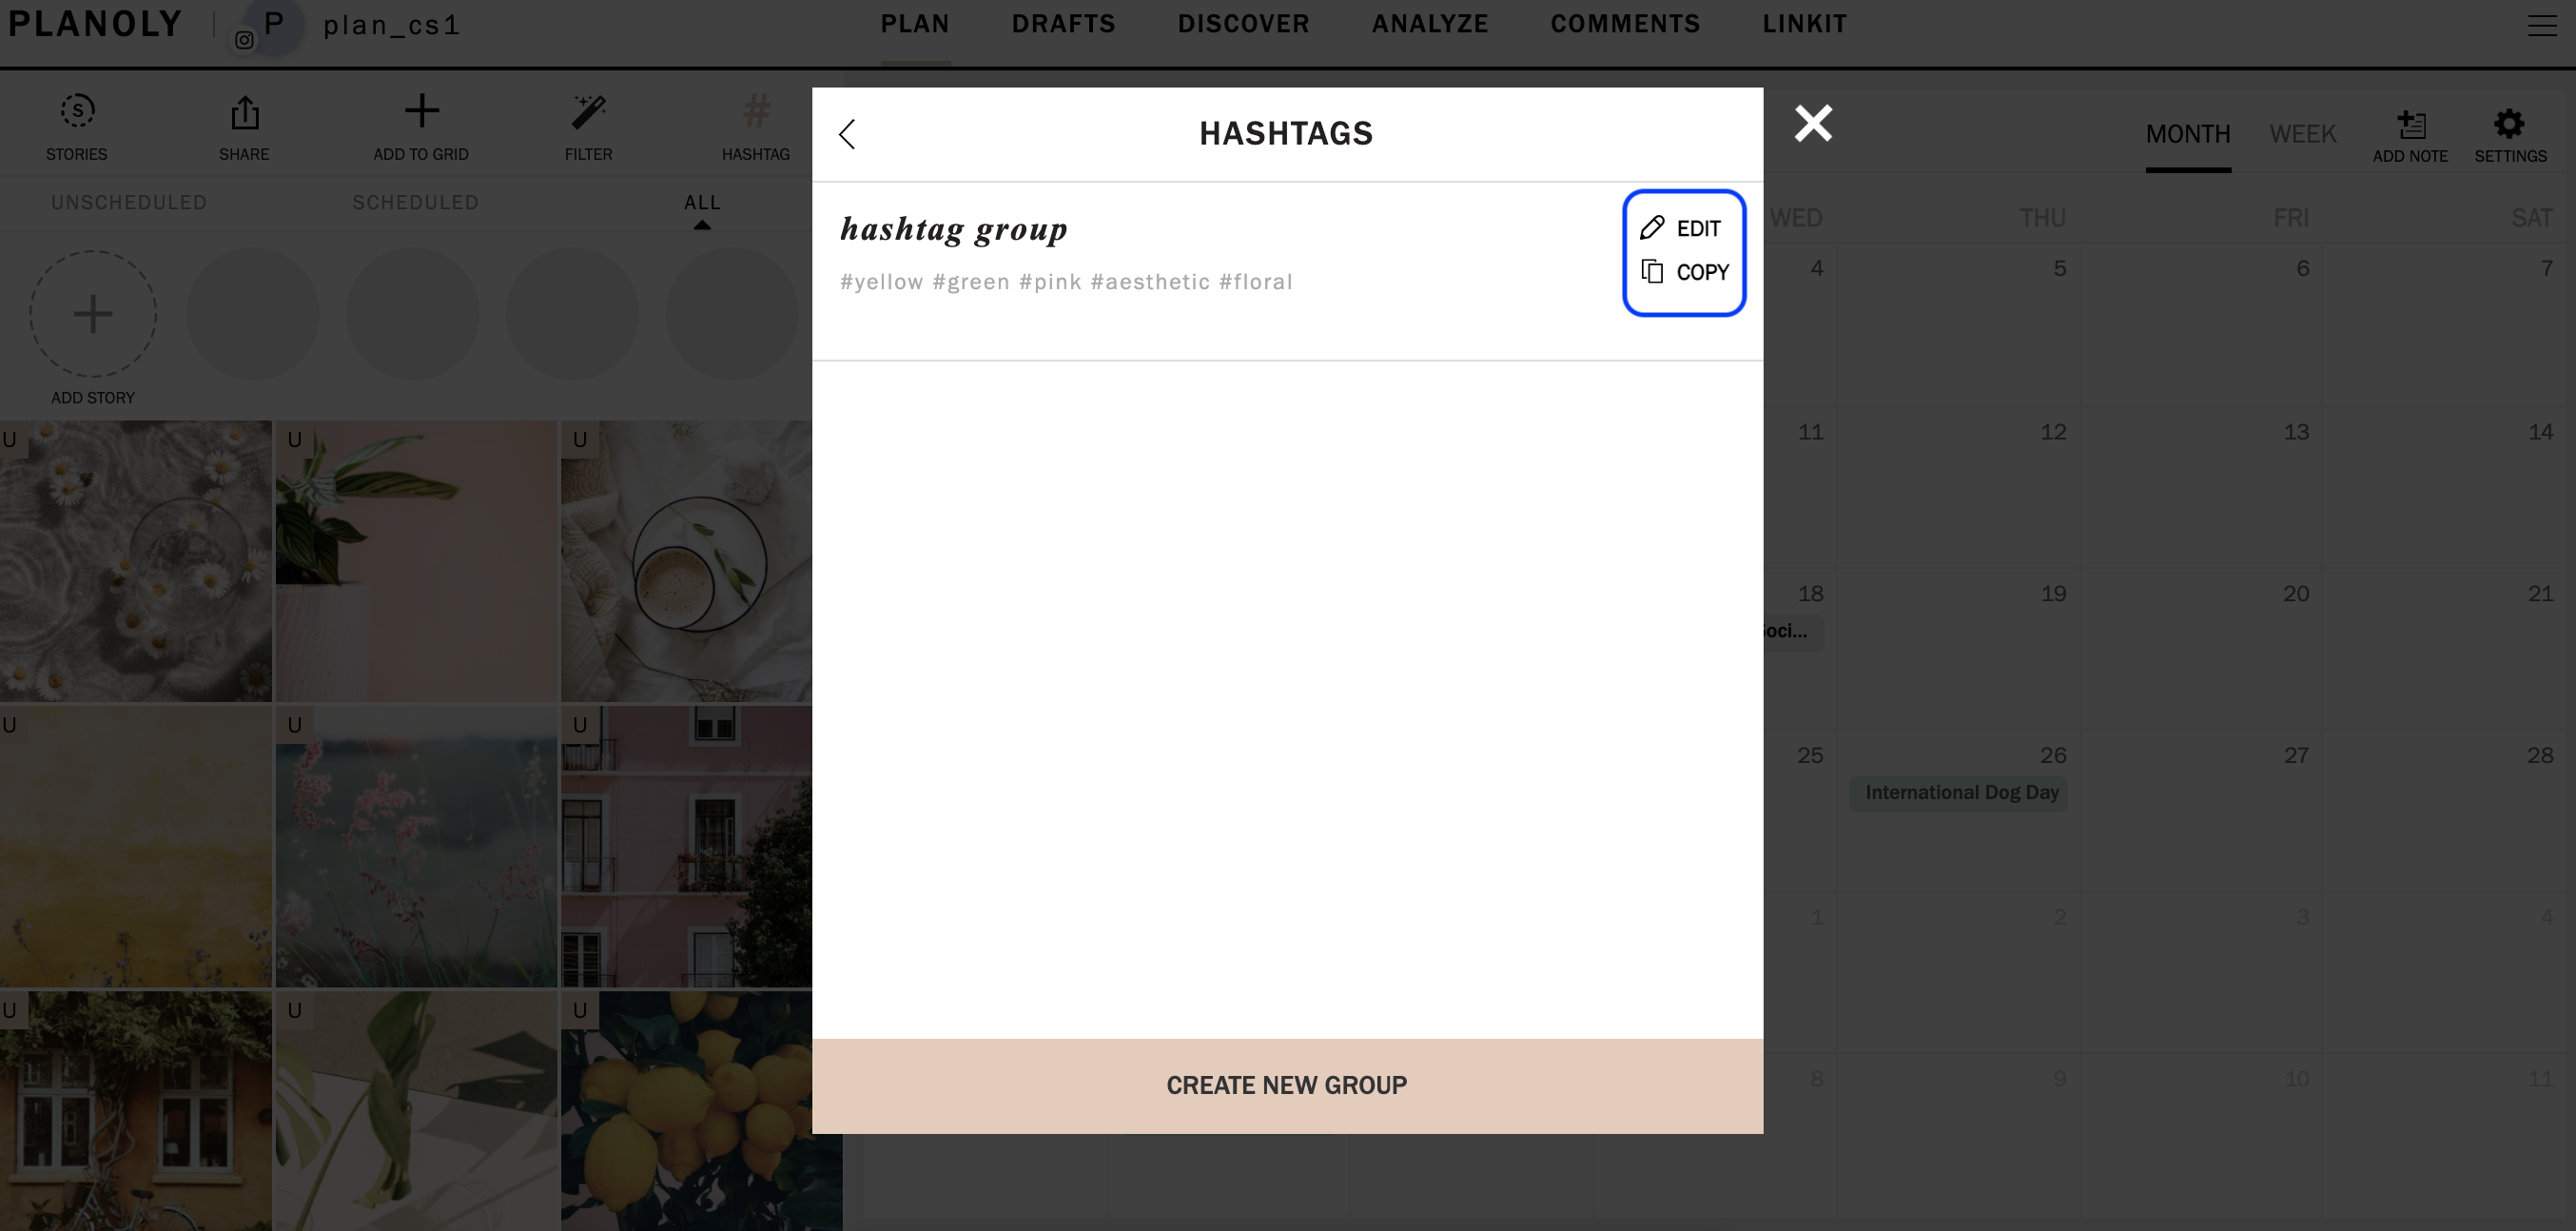
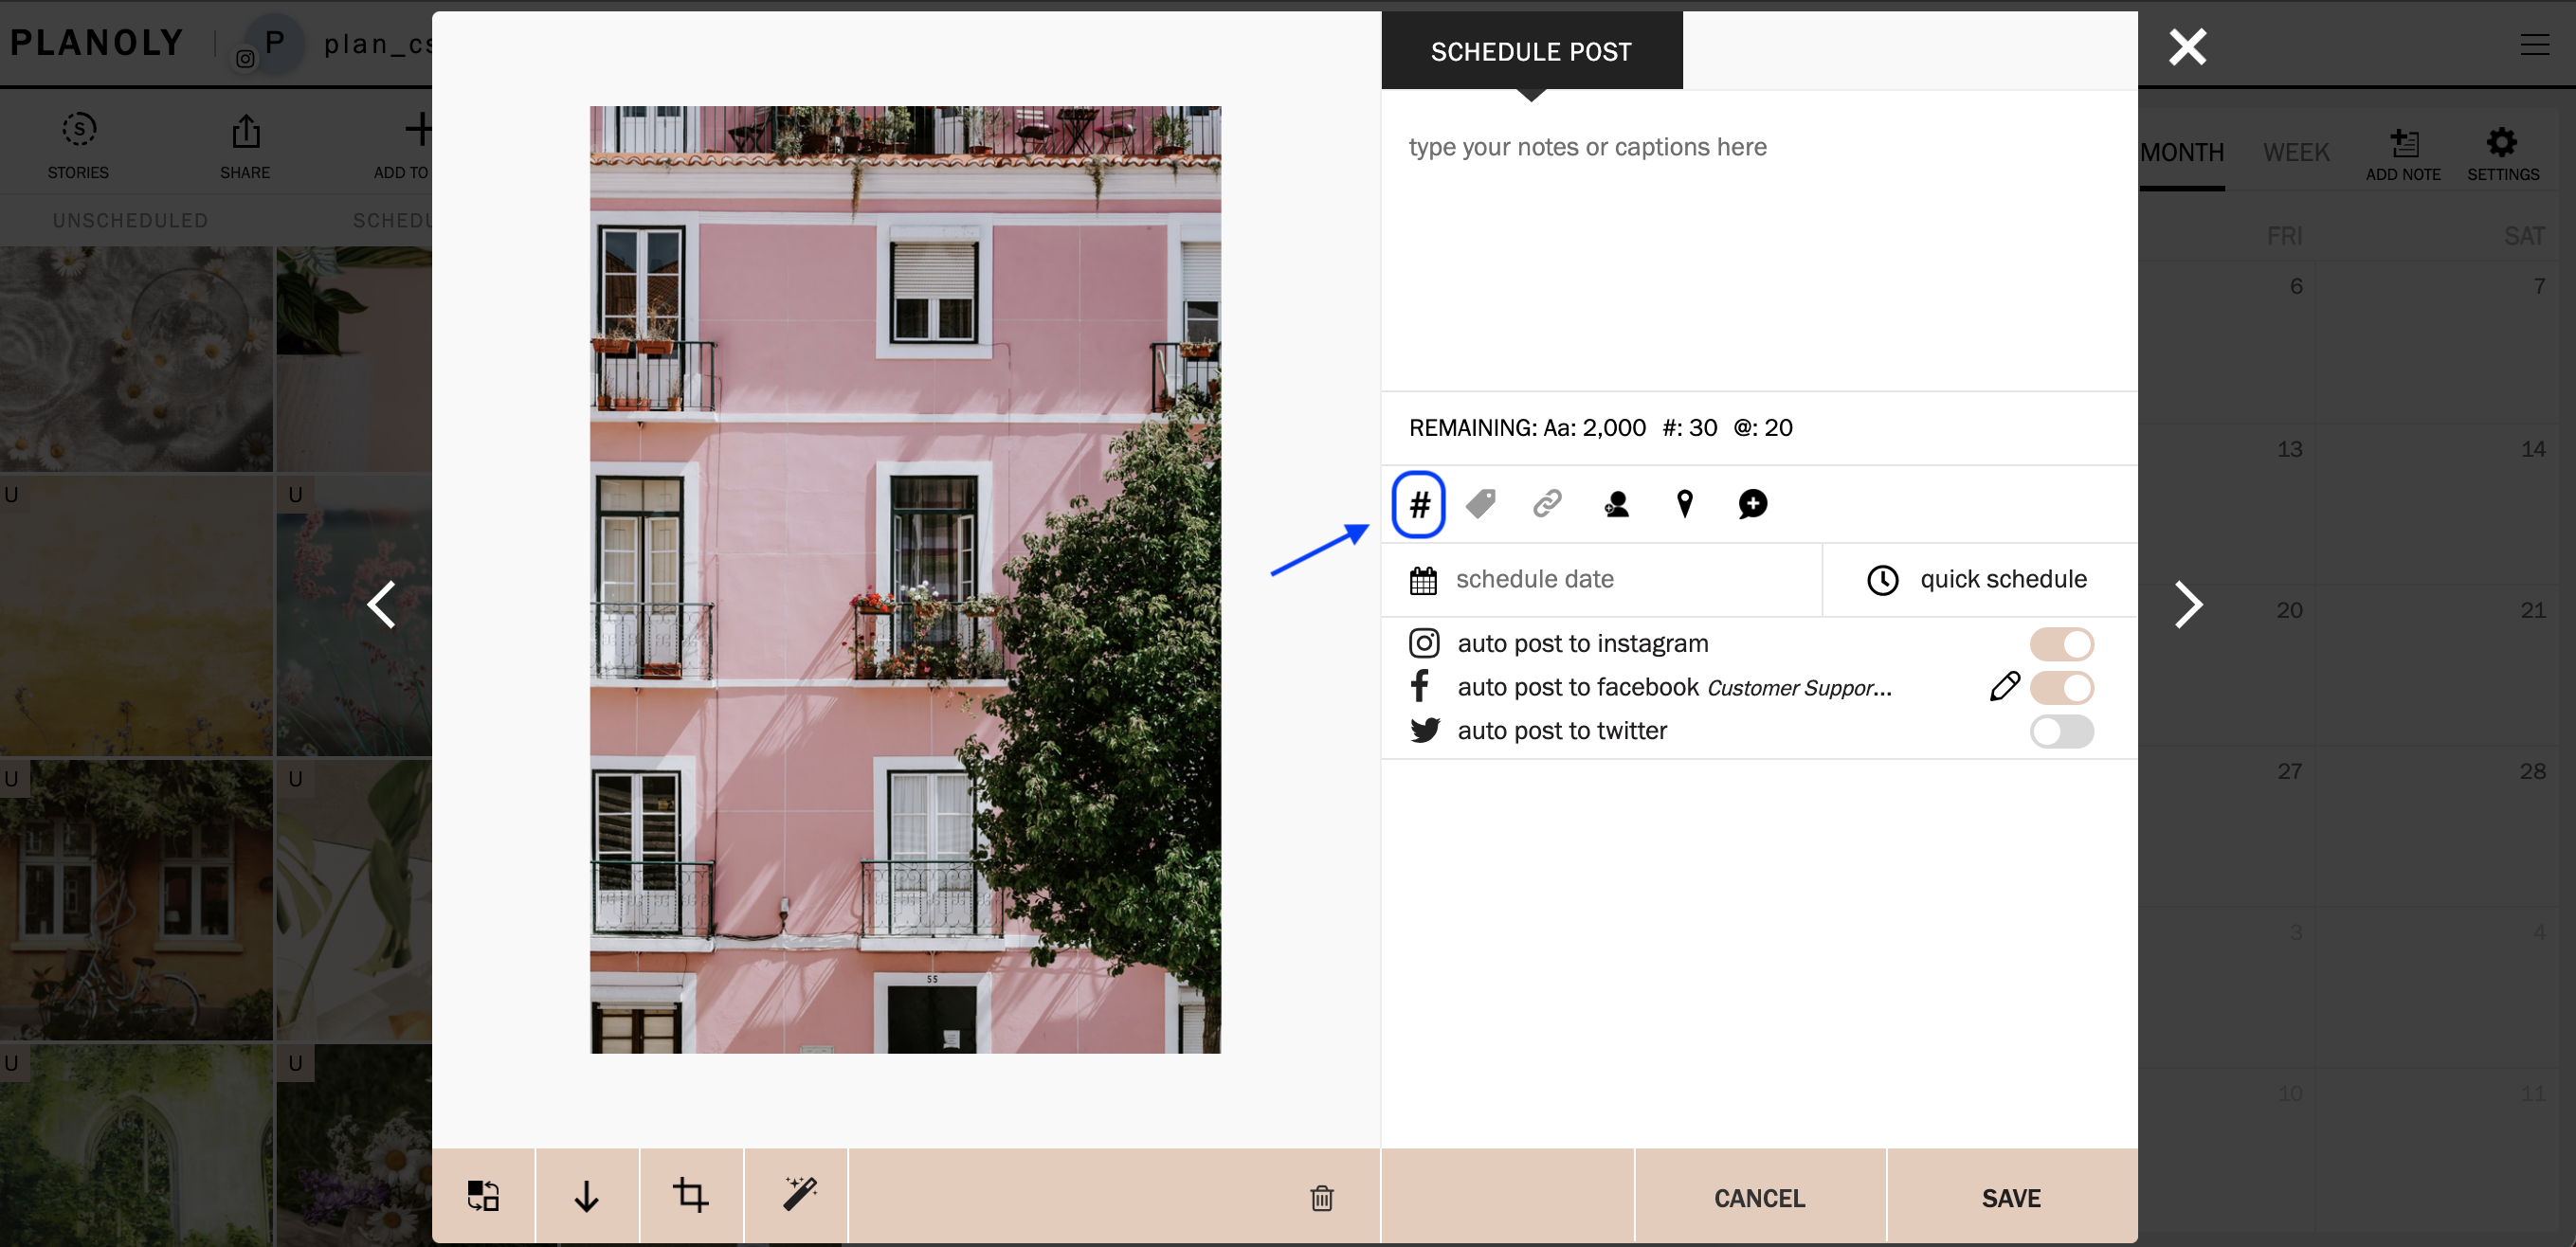
- To use the Hashtag Group in a post, preview a post via the Schedule Editor and tap on the Hashtag icon
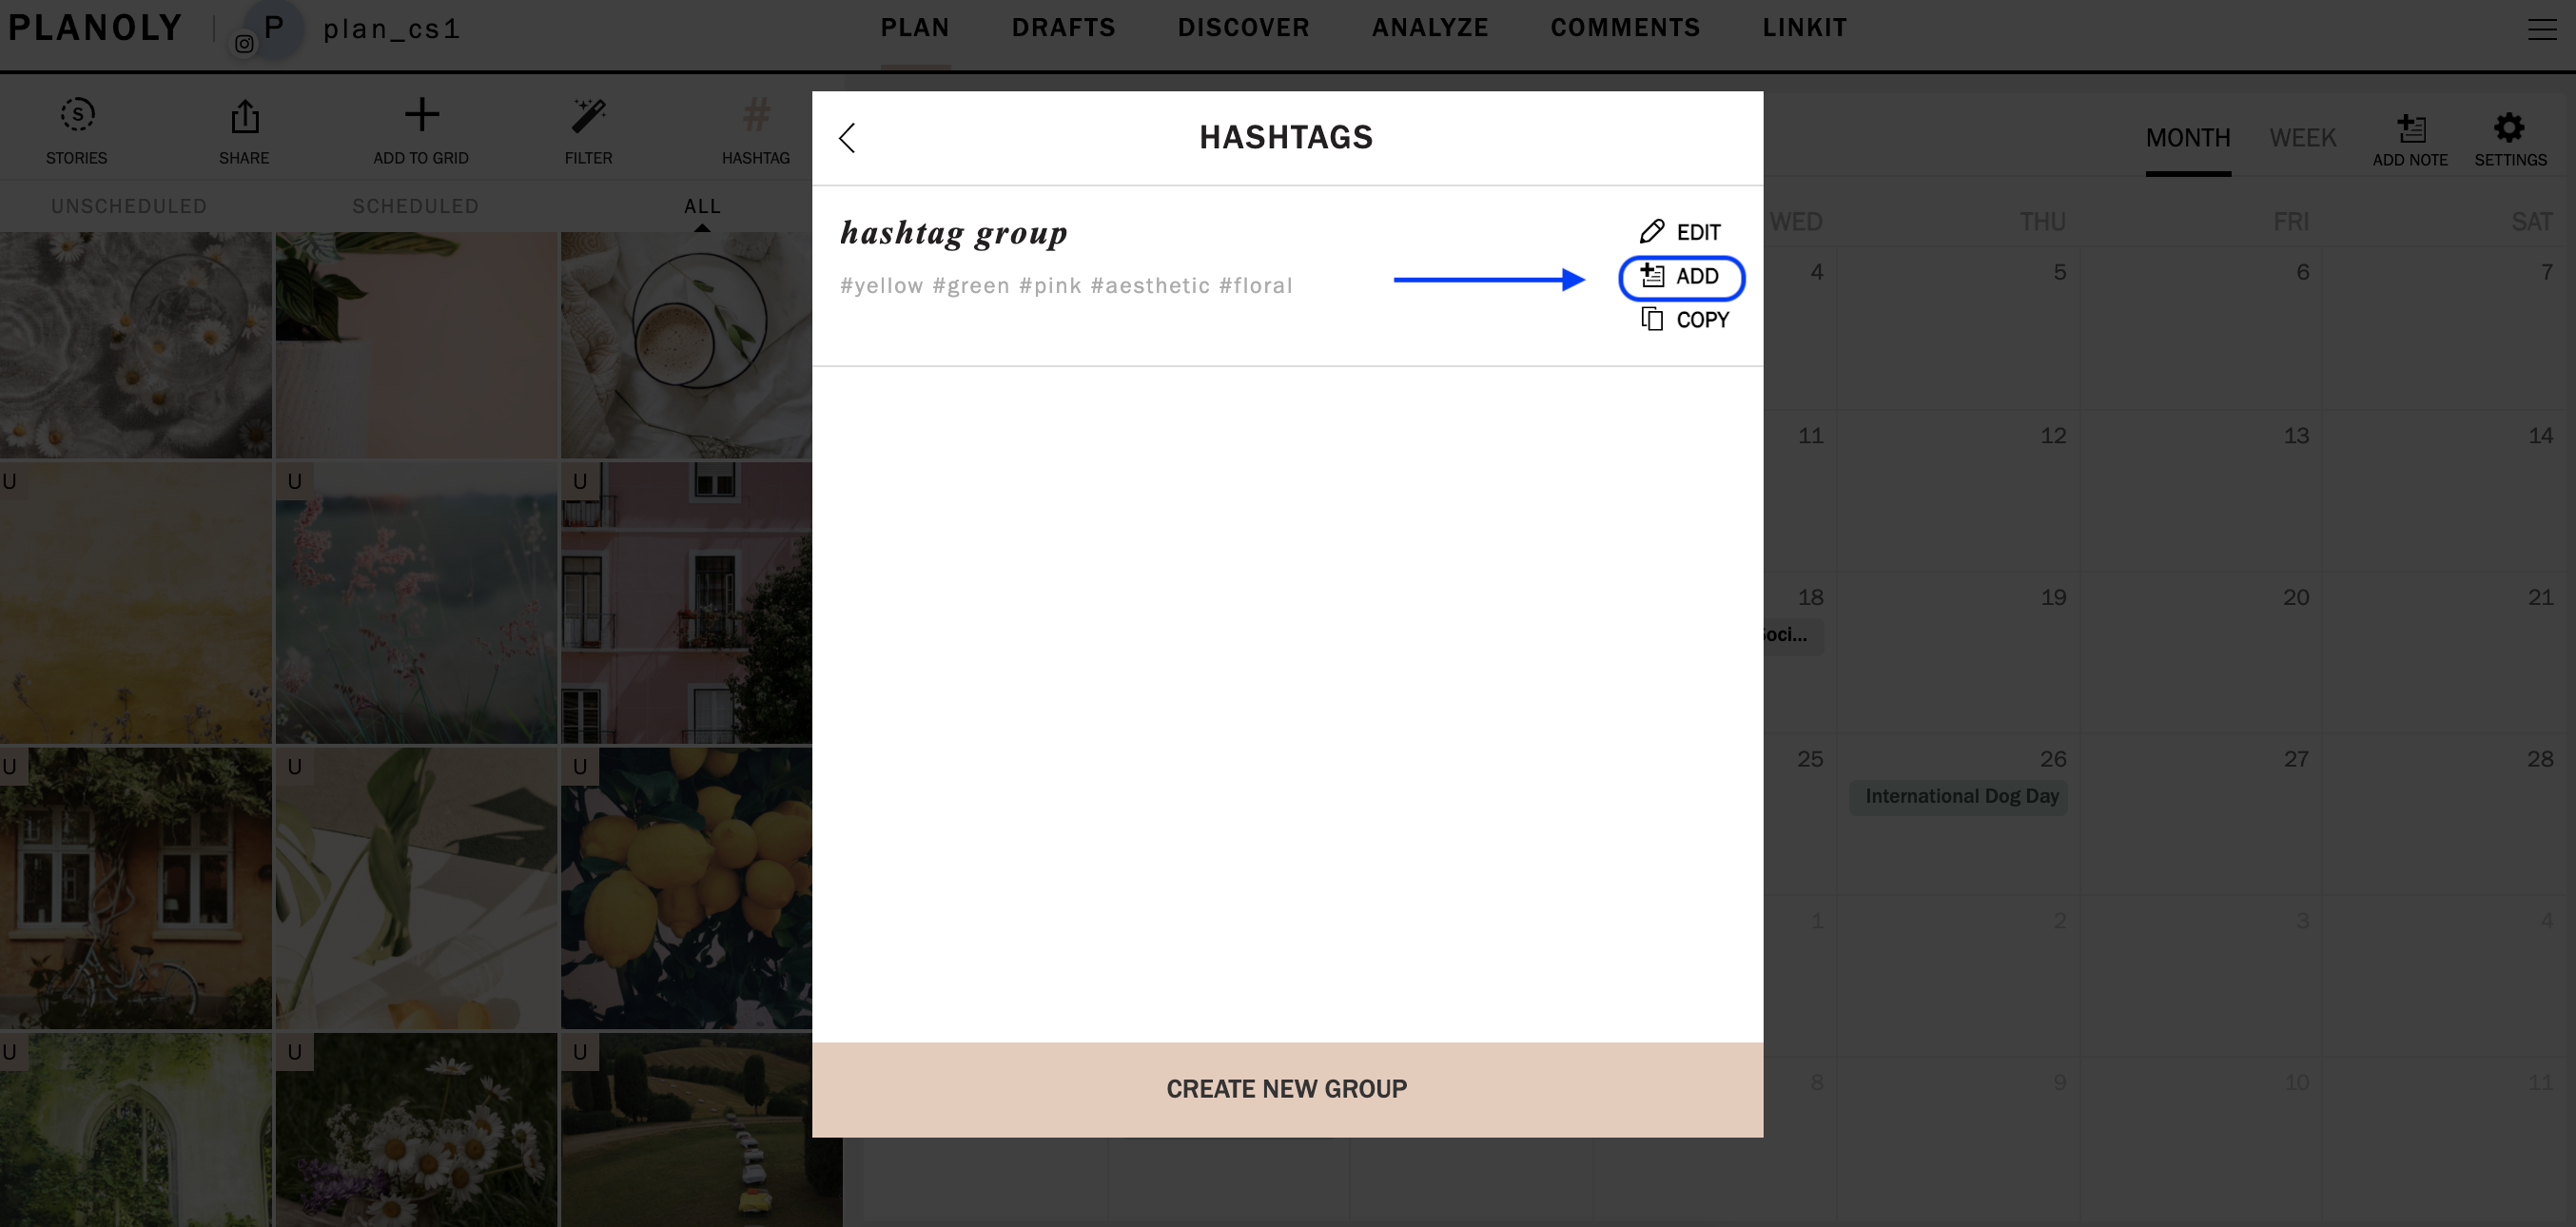
- Click Add
-
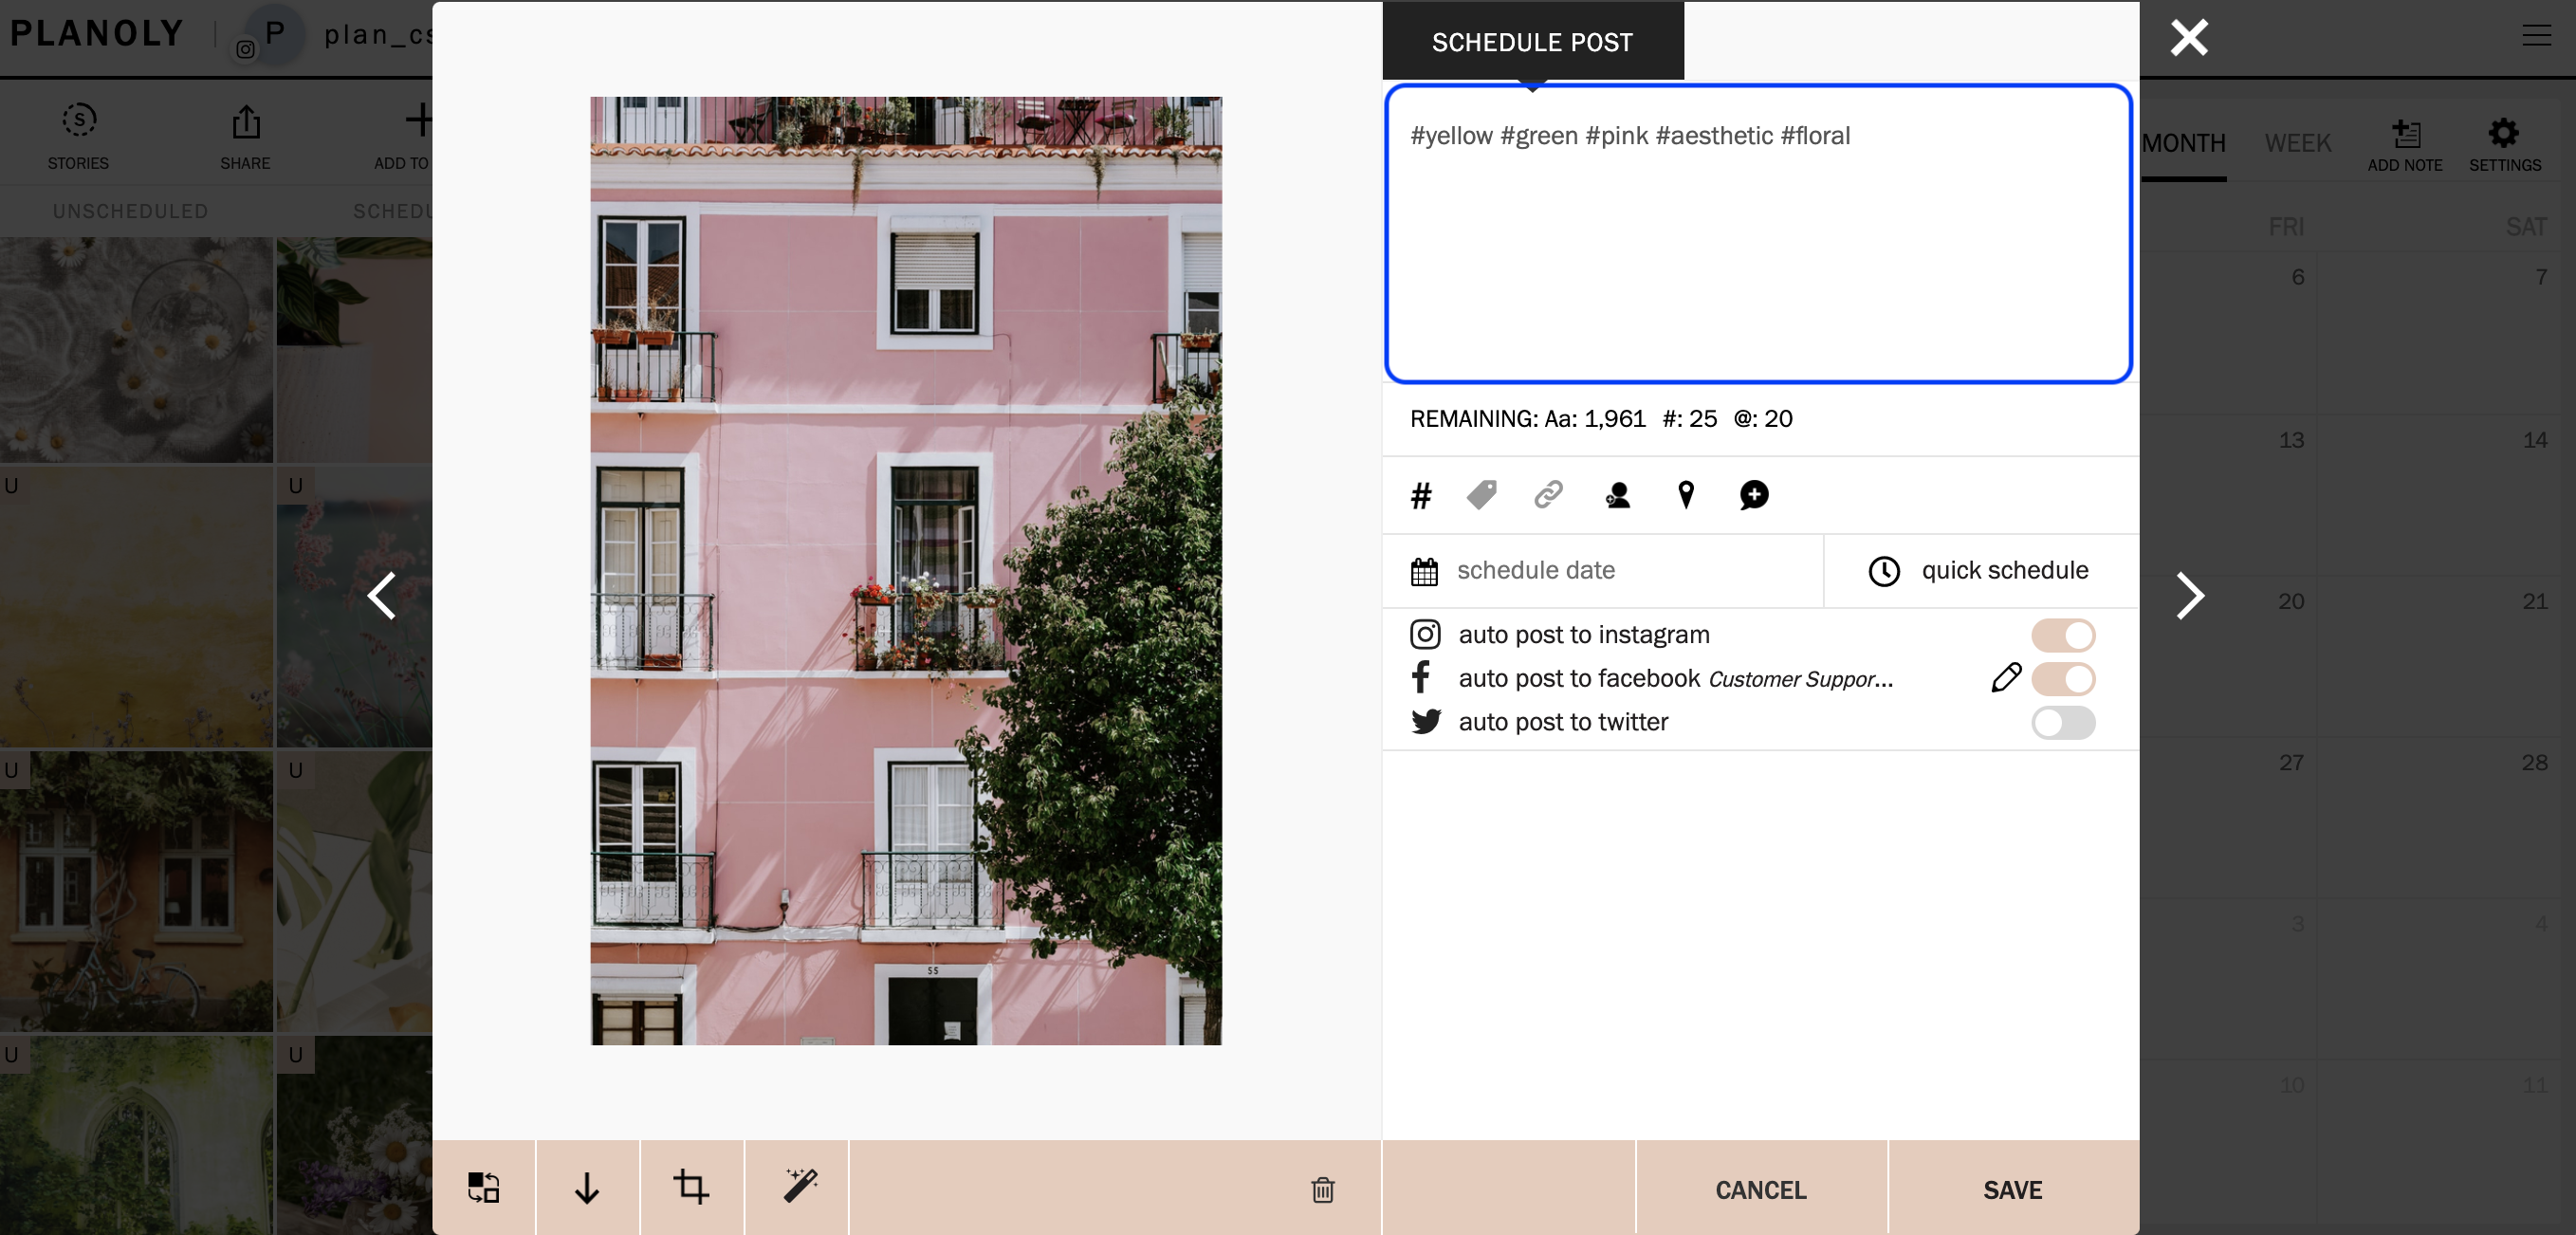
You're all set! The Hashtag Group has been added to your caption
How to Create, Edit, and Delete Hashtag Groups on the Mobile App
Multi-Channel Workspace
- Log into your account on the mobile app and click on the '+' to add a new post

- Add your media, choose the scheduled date and time, and toggle on auto-post

- Add your hashtags by creating a new group by clicking on the '+' and once complete, click on Save


- Once your hashtag group is ready, swipe on the hashtag group and you will see the option to delete, copy, edit, or insert that group into your post


- When you are ready to schedule your post, click on Schedule

- After that, you should see your post in your plan grid!
Please Note: Android devices do not have access to editing or deleting on Planoly.