Overview
Creator Store is Planoly’s all-in-one platform for selling products, services, and content directly through your link in bio.
When used alongside Social Planner, it allows you to manage your content and monetize your audience all in one place helping you create, promote, and sell seamlessly.
What Can You Sell?
With Creator Store, you can offer:
- Digital products
- Online courses
- 1:1 consultations
- Q&As
- Livestreams
- Memberships
- Tips & subscriptions
- Invoices
- Merchandise
All managed from a single platform.
Why Use Creator Store?
- Monetize your content and services
- Create a professional storefront in your bio
- Keep more of your earnings (no transaction fees on paid plans)
- Seamlessly connect with Social Planner
Key Features
- Built-in checkout and payments
- Custom branding and design tools
- Order and sales tracking
- Automated customer emails
- Team collaboration
- Social set integration
Creator Store is accessible directly through your Social Planner workspace on web.
How to Link a Creator Store?
- Log into Planoly on a computer. Tap on the left side nav bar and click Creator Store
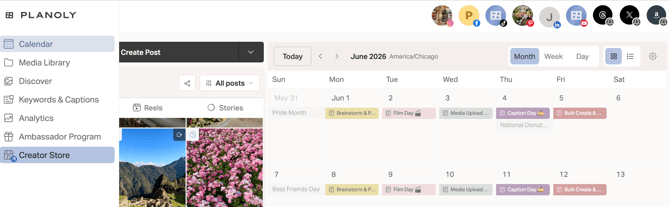
- To link a Creator Store account, you'll navigate to the Workspaces page, and under the Creator Store column, click on the 'storefront' icon or arrow
![]()
- You'll be taken directly into Creator Store. Follow the prompts to complete your store setup.
- Once you have Creator Store linked to Social Planner, you will be directed to your Creator Store account (as shown below).
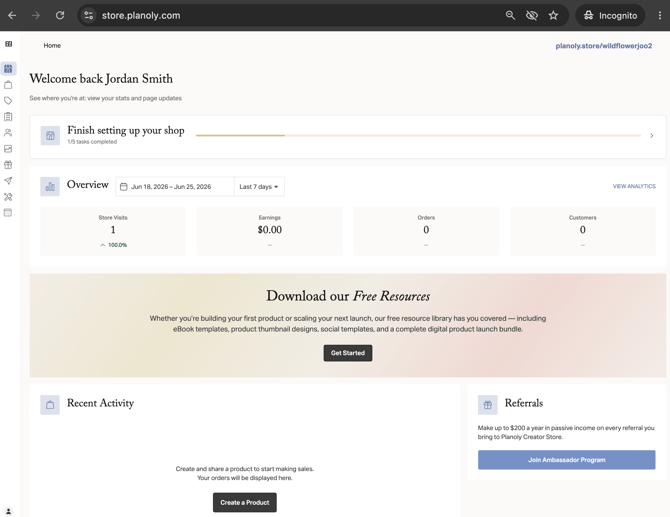
- From here, you can start managing your account on Creator Store through Social Planner!
- You are all set!
Please Note: If you already have an existing Creator Store account, make sure you are using the same email address when linking it to Planoly to avoid login or access issues.
Still Need Help?
If you need assistance with your Creator Store account, feel free to contact our support team at:
support@planoly.com