How to Create Your Sellit Shop in our Instagram Planner
Sellit allows you to sell physical or digital products through a micro-landing page managed in Planoly. To access Sellit, you will need to be on a paid plan on the Web Dashboard.
Psst! Since you’re already using Sellit, we’d love to introduce you to Planoly's Creator Store. Take your Sellit page to a new level with a whole Storefront. A new way to showcase and sell your products and services even more seamlessly! Here's more info.
How to Get Started:
| 1. Log into your Planoly account on the Web Dashboard and go to your Instagram Planner | |
| 2. Click on the Sellit page at the top of your screen. | 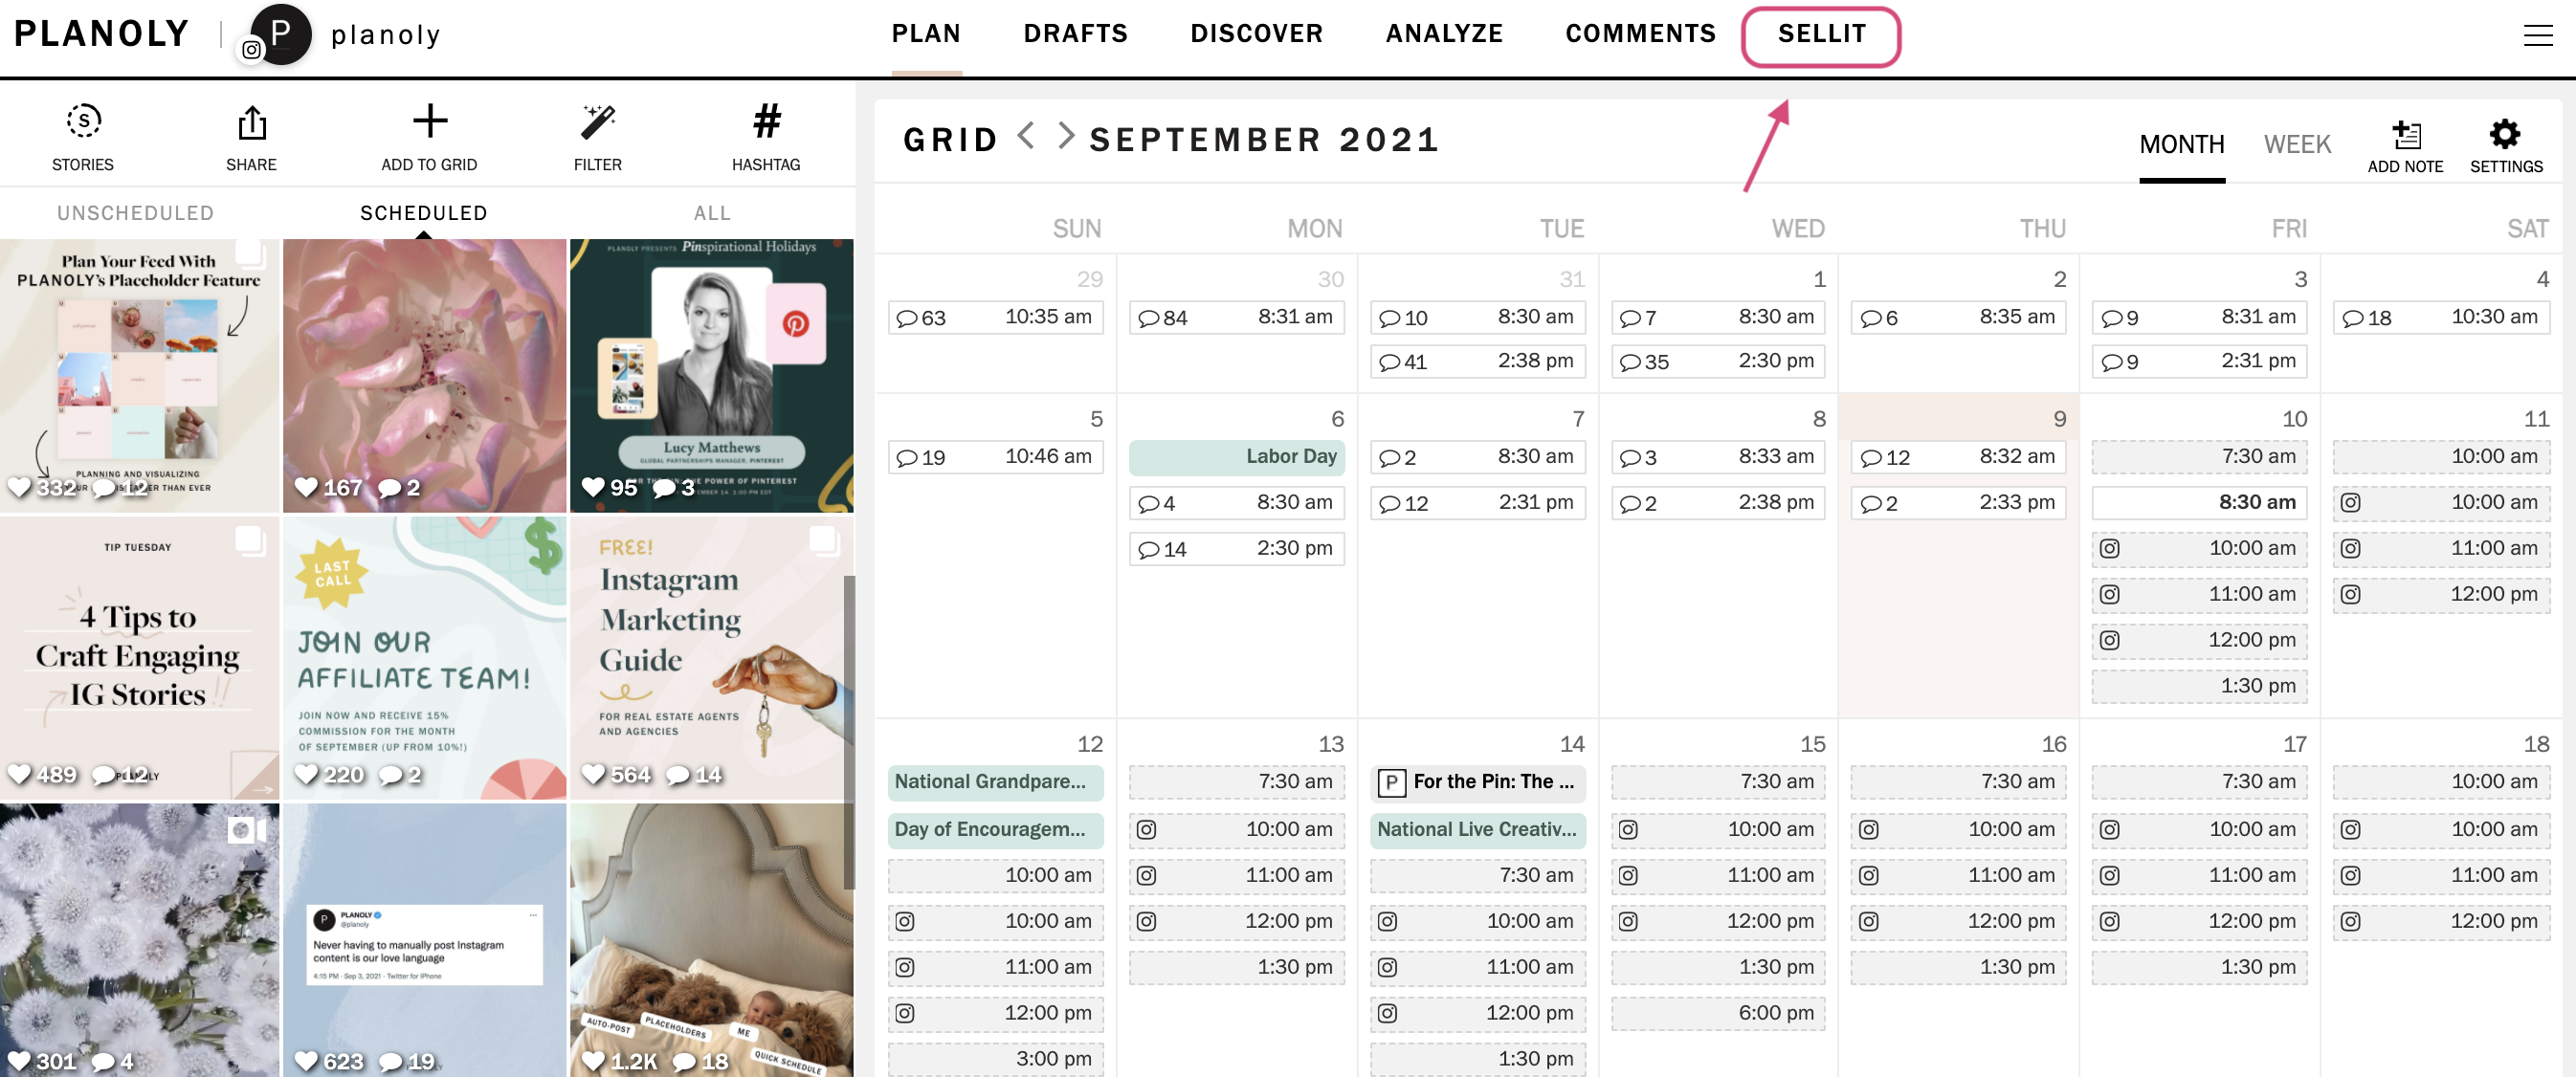 |
| 3. Hover over the left panel to view the four options: STORE tab, PRODUCTS tab, ANALYTICS tab, and PAYMENTS tab. | 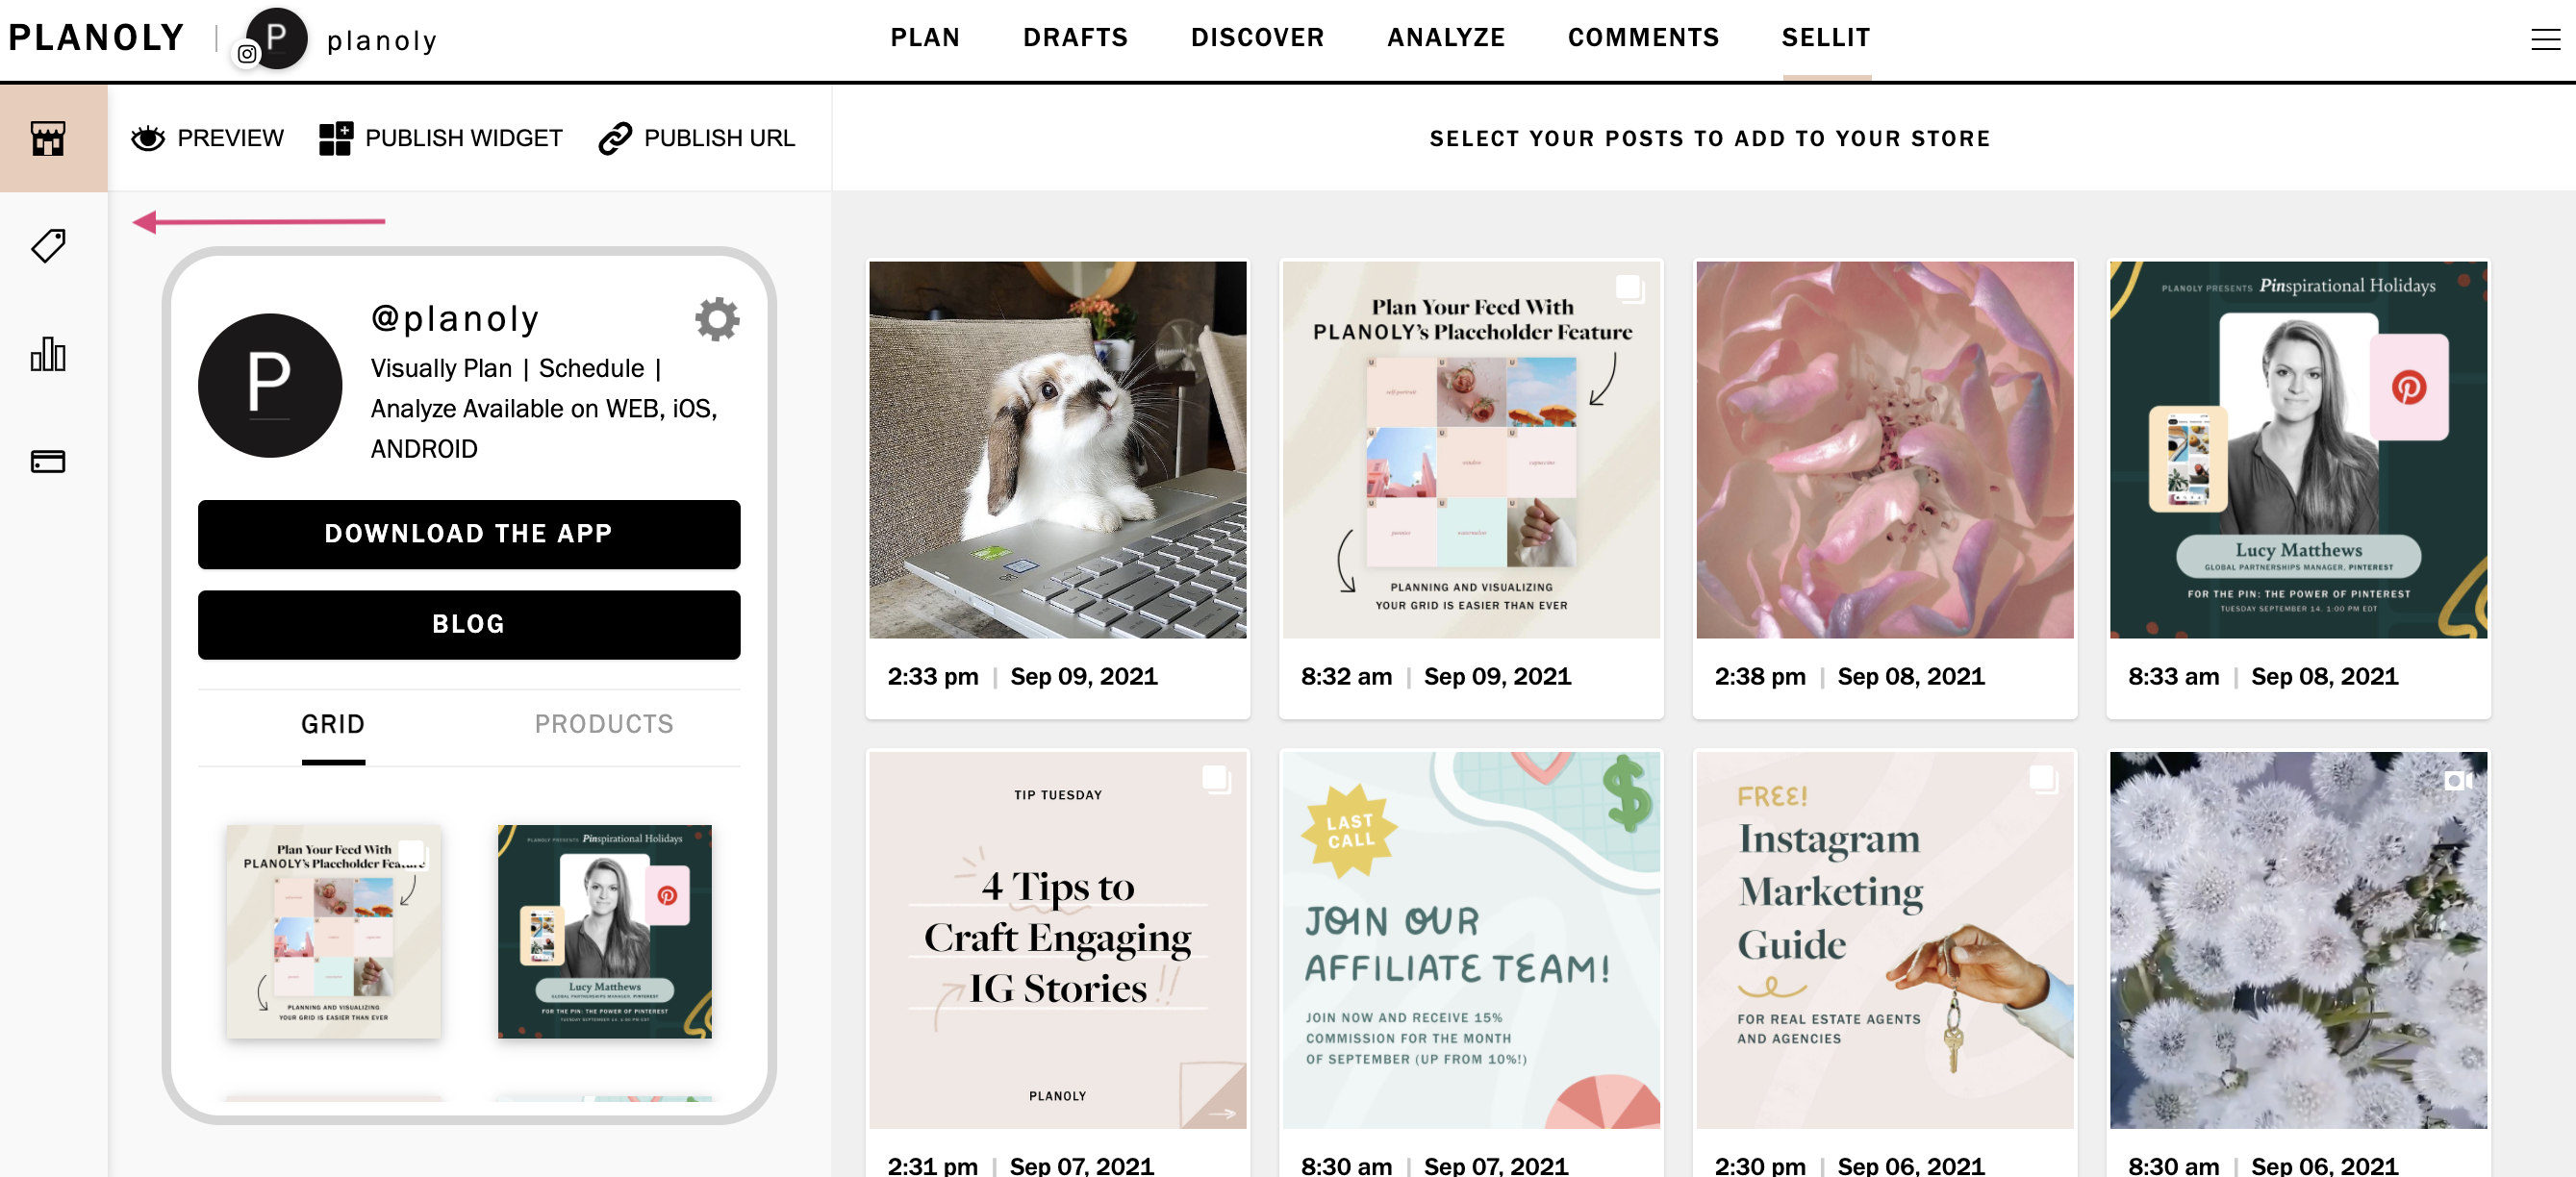 |
| 4. Click on +add description to add a description of your business. | 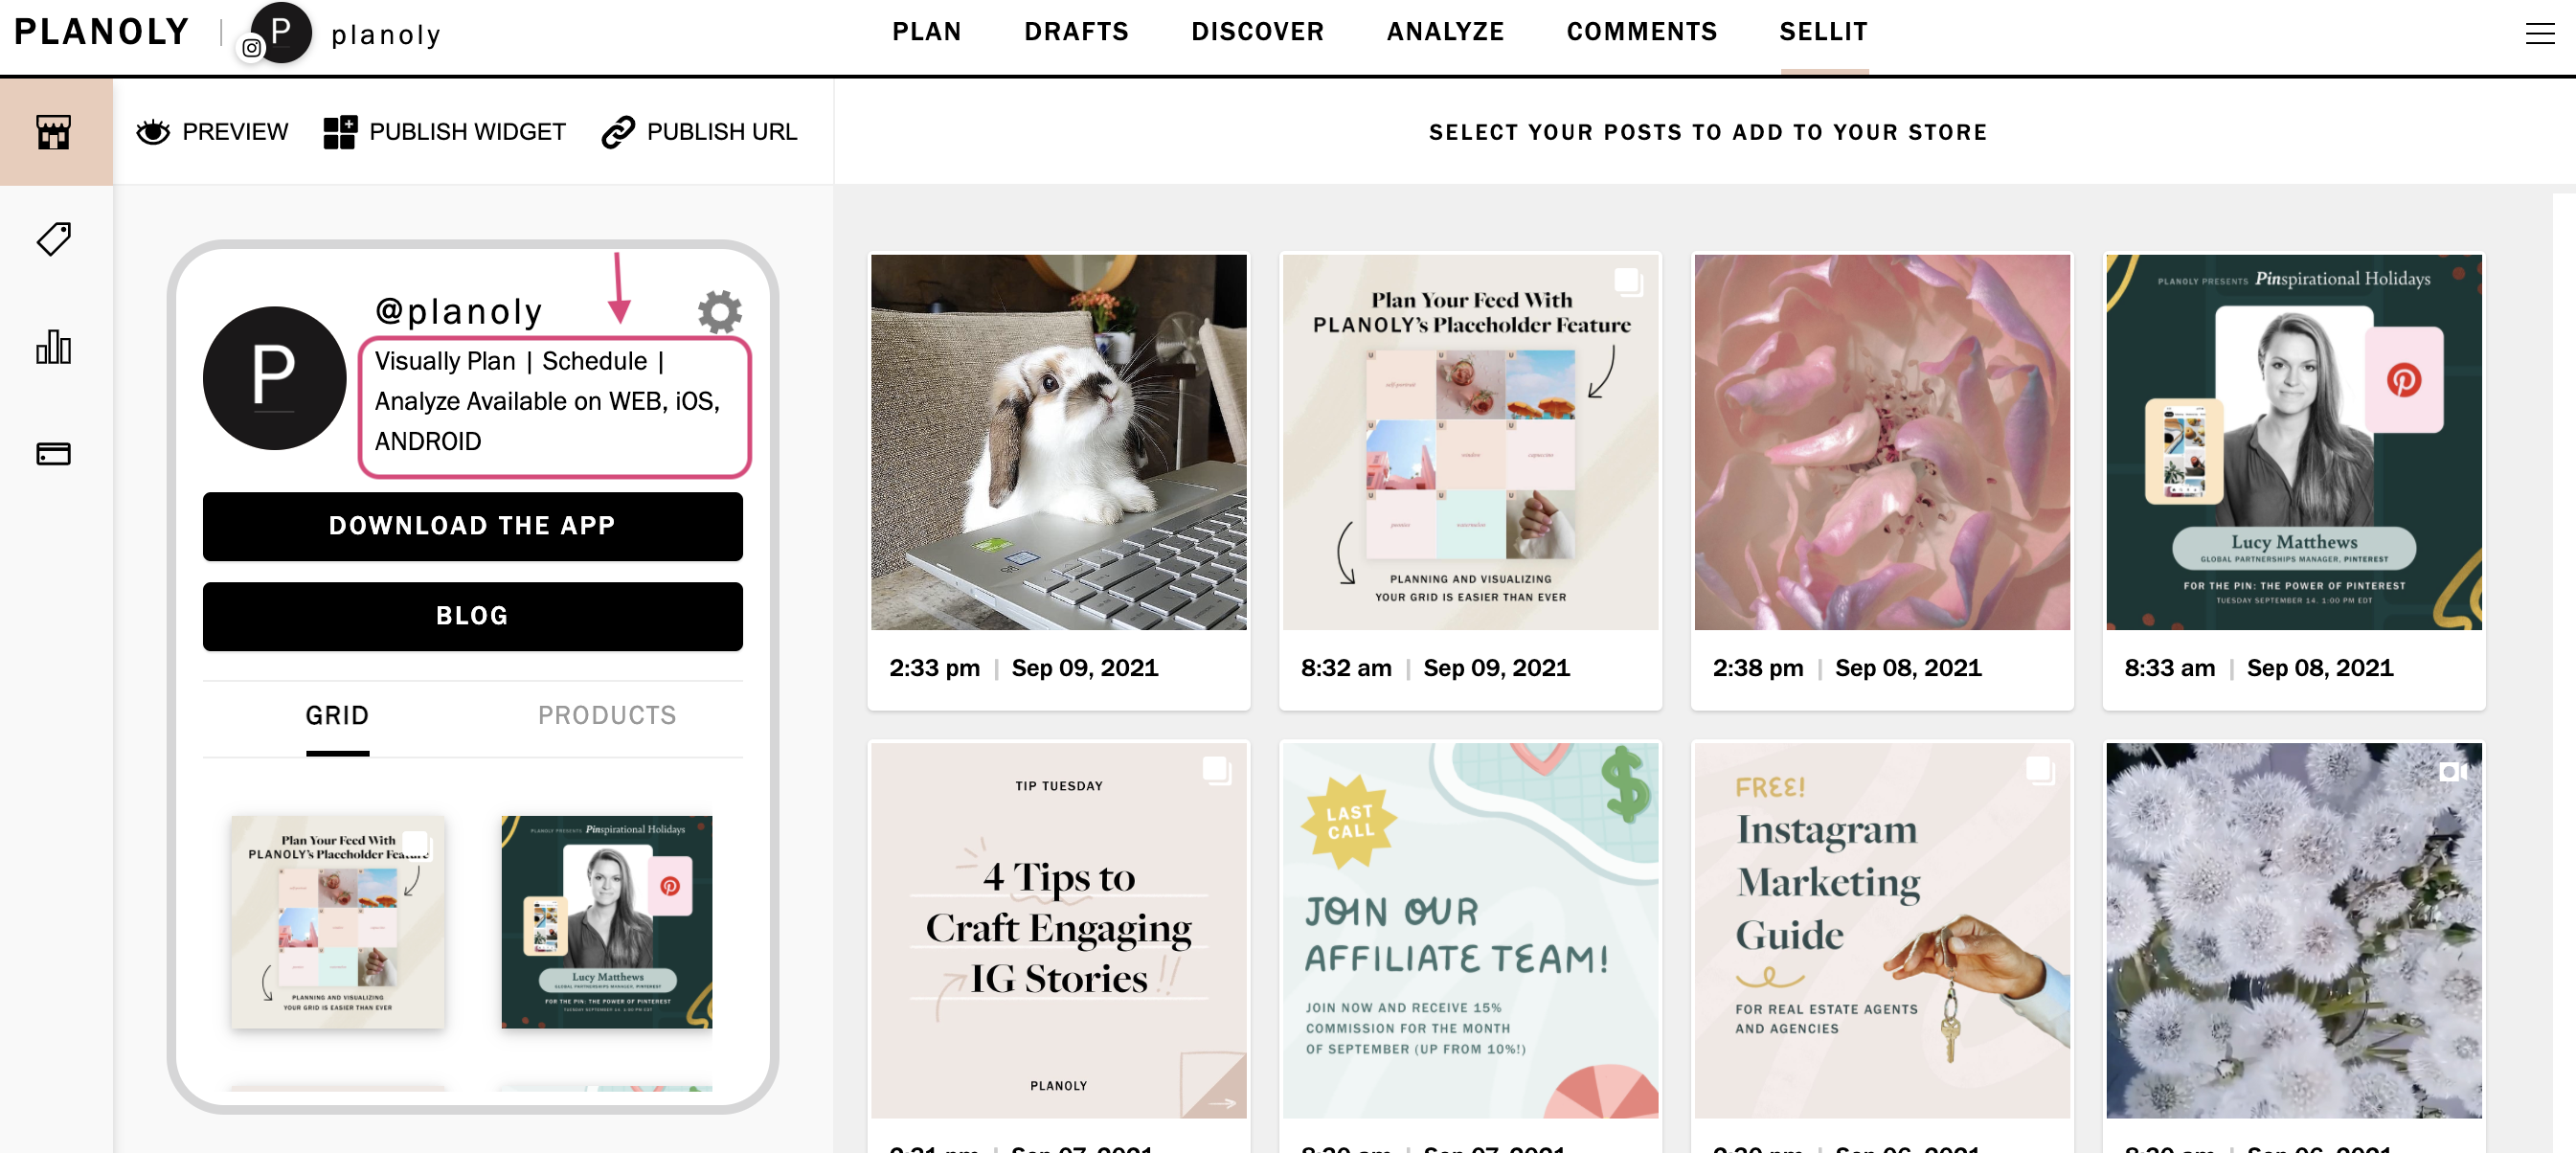 |
| 5. A new window will pop up to write a quick summary of your shop. | 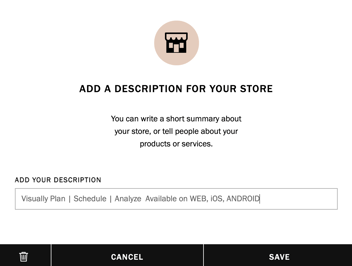 |
| 6. You can also customize Sellit by showcasing a featured section and selecting a button color. | 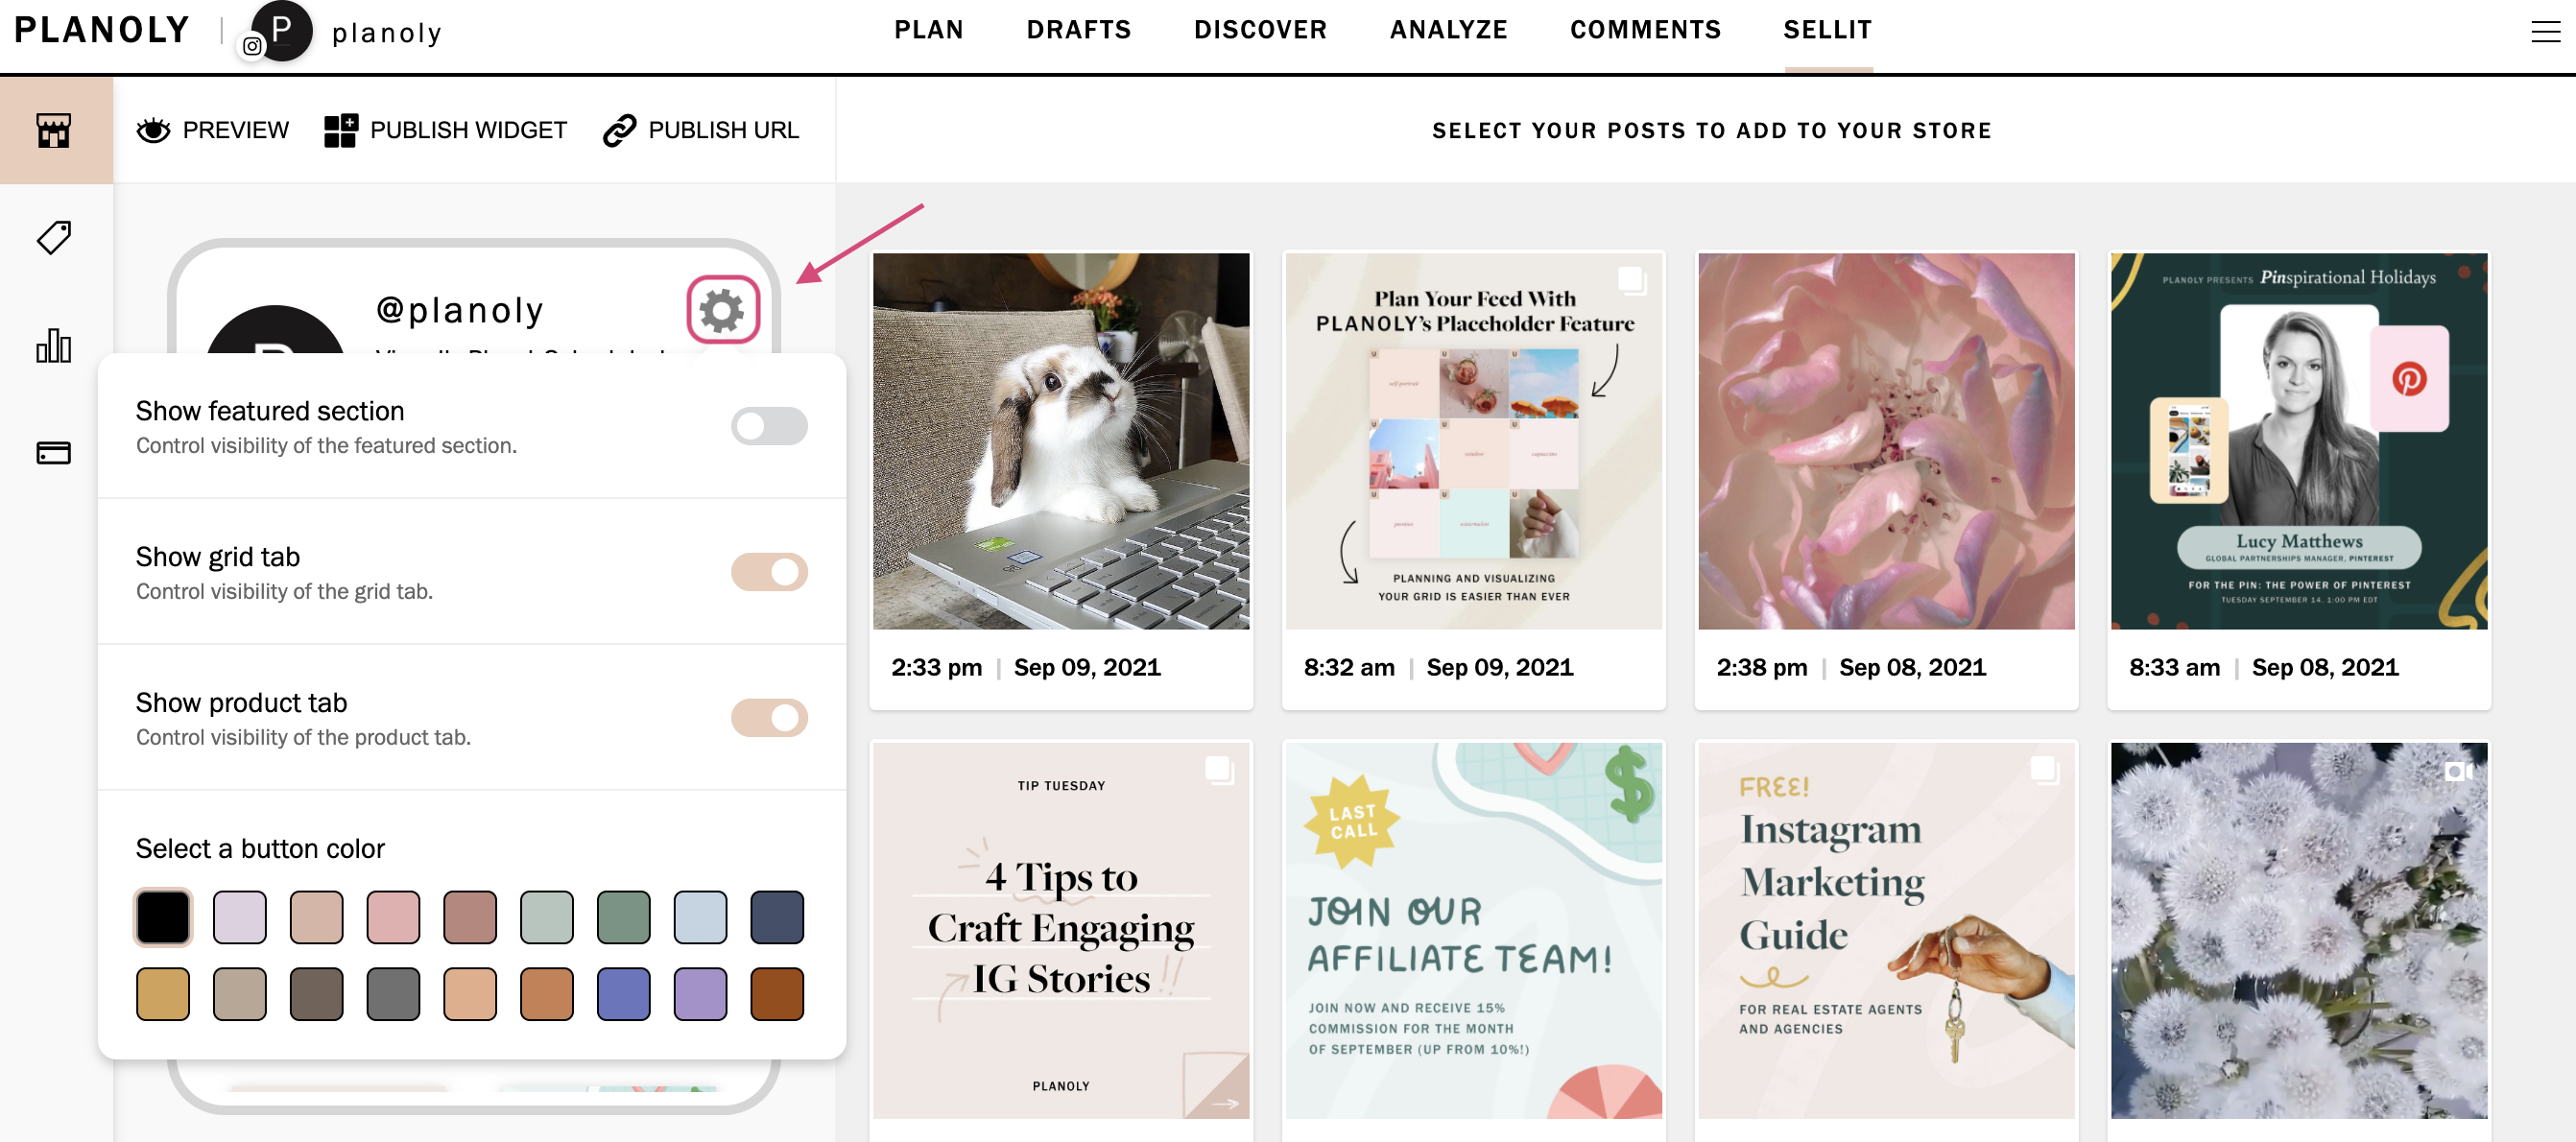 |
| 7. Click on ADD LINK, to customize the button name and include a URL for any website. | 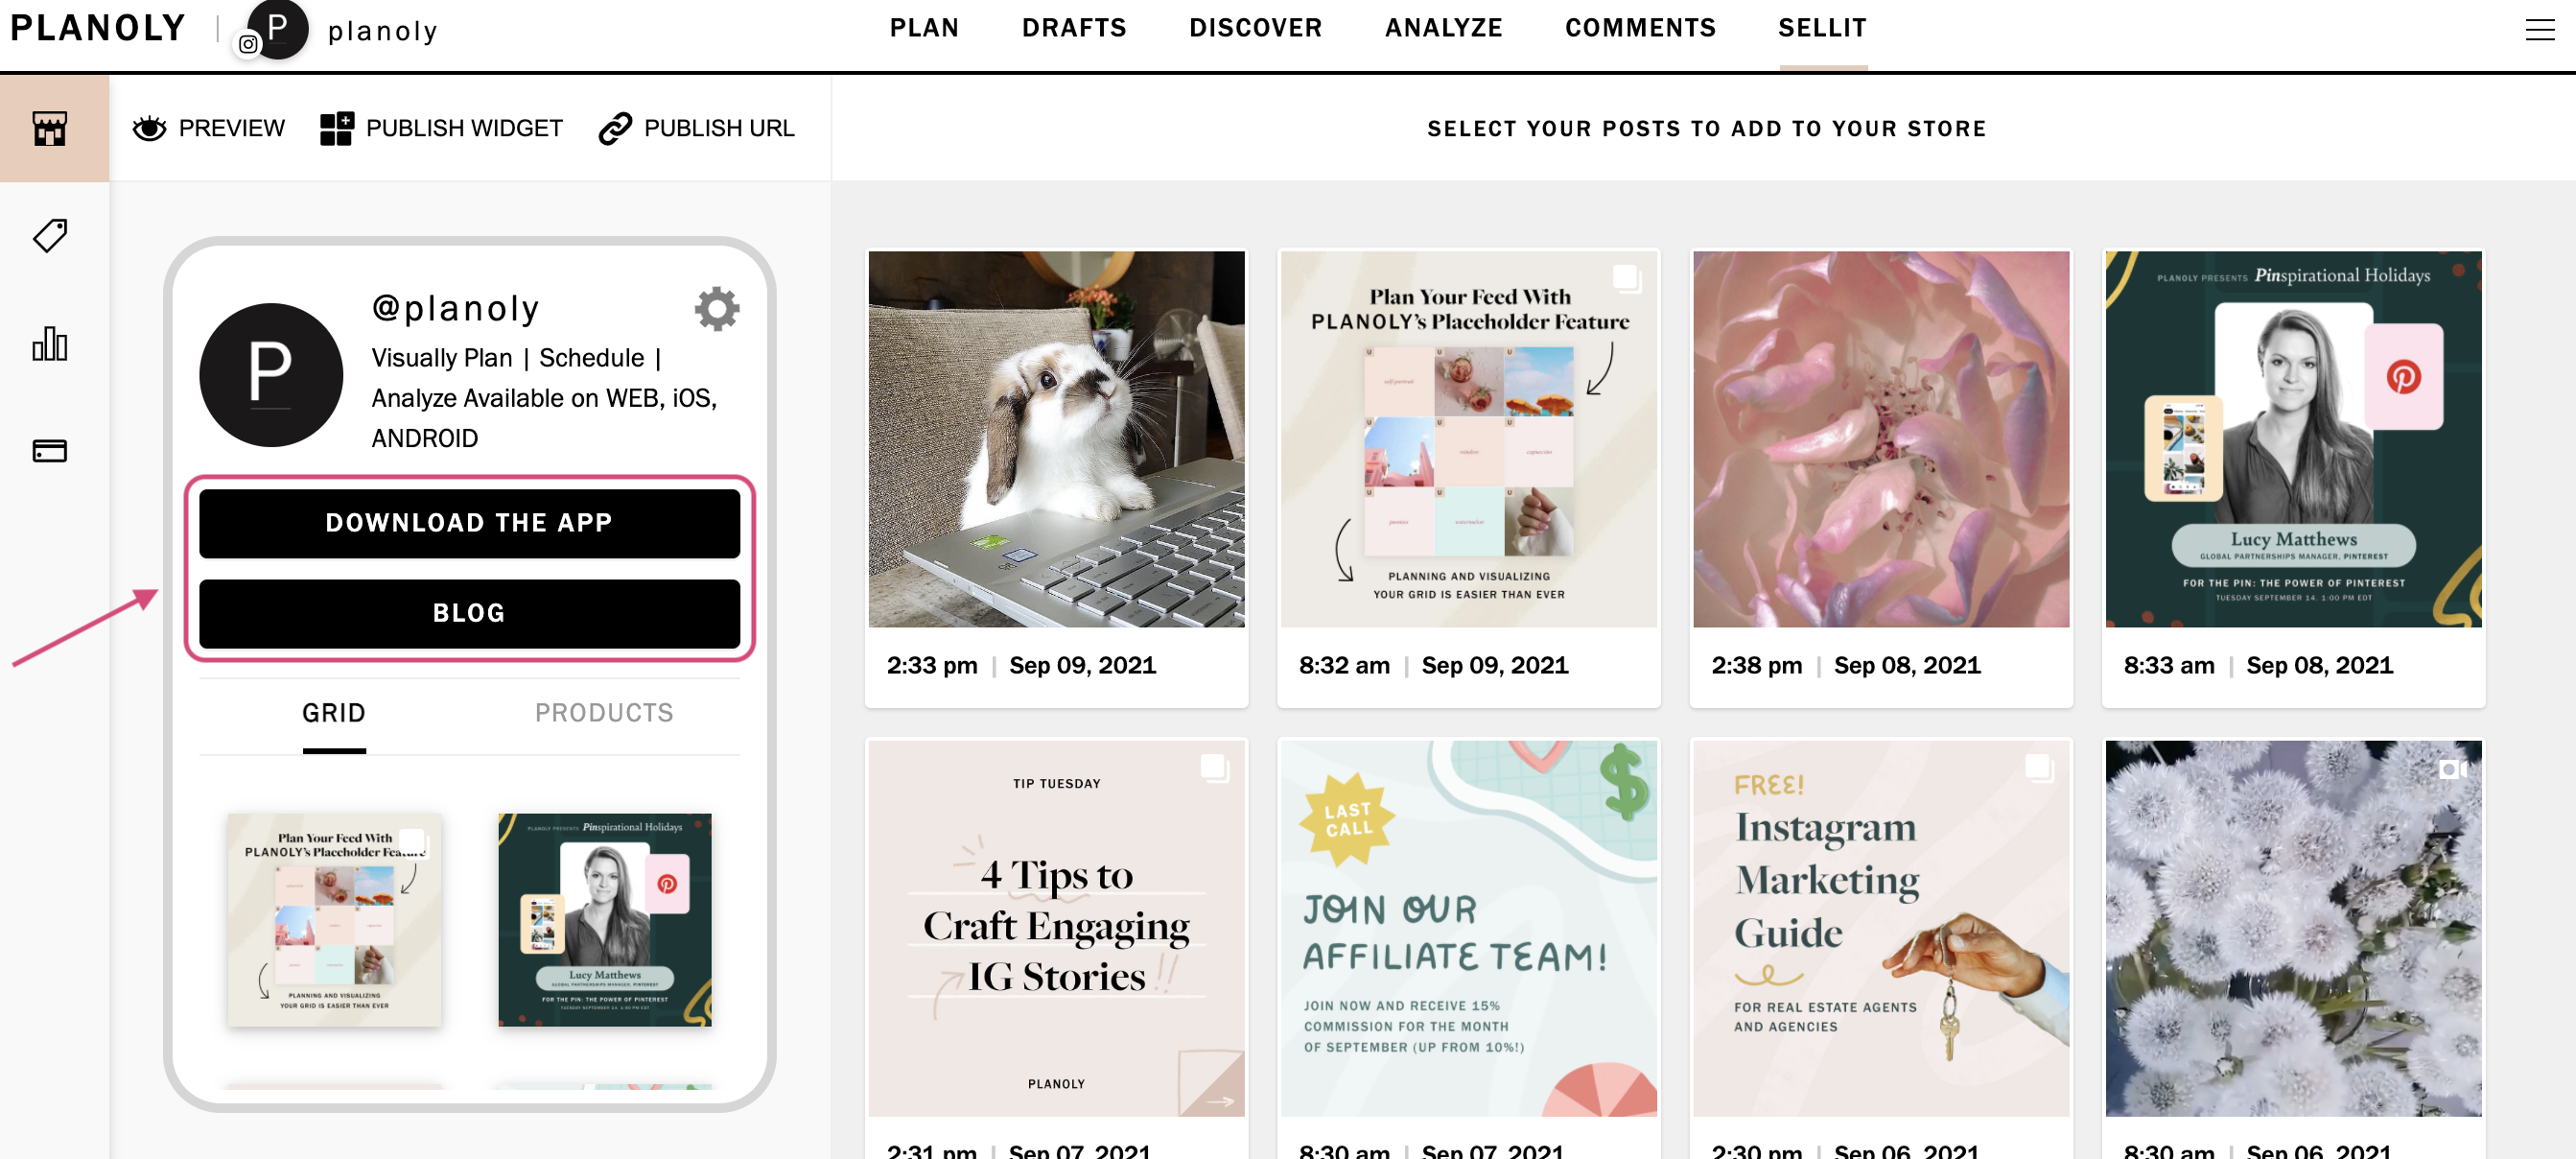 |
| 8. Fill in the link details for the top 2 buttons. | 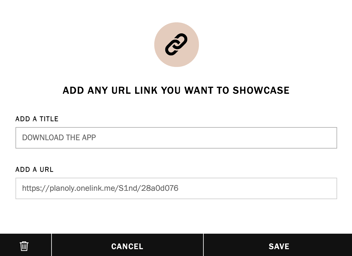 |
| 9. Add products & pricing from the price tag tab. |  |
| 10. View performance from the analytics tab. | 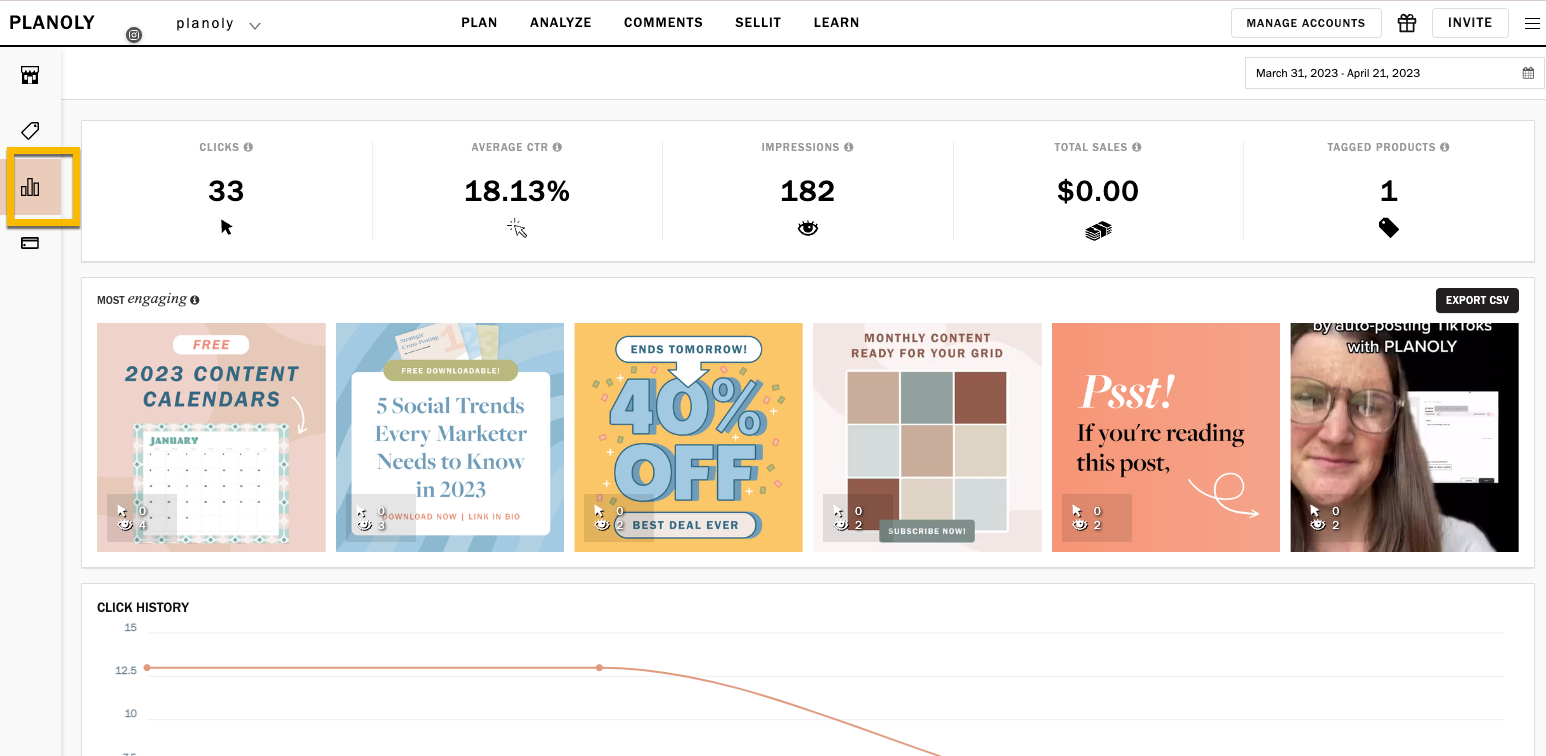 |
| 11. Set up Sellit payments. More info here. |
Planoly Pro Tip: Within the Store tab view, you’ll be able to see a preview of your digital storefront on the left.